Crispy Baked Breaded Marmite Chicken Dippers

A great sharing recipe for Marmite lovers, and a way to use up stale bread. These Marmite chicken dippers are easy to make and baked in the oven. Serve them up with a cheesy dip on the side for a delicious dinner the whole family will love!
Recipe Overview
Skill Level:
SKILLED BEGINNER
Prep Time:
15 MINUTES
Cook Time:
30 MINUTES
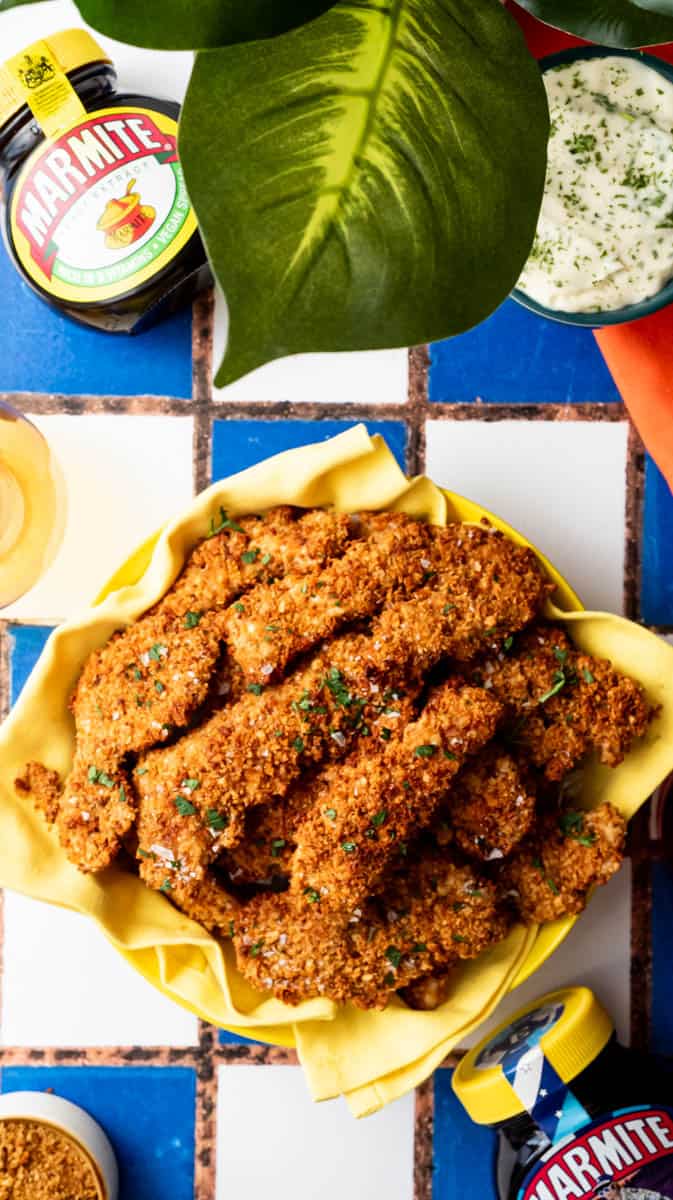
What Makes This Recipe Great
A money-saving recipe utilising leftover stale bread, that we infuse with the flavours of Marmite.
Baked in the oven for ease which frees you up to prepare other things while they cook. No need to watch the frying pan.
A fun and delicious recipe that Marmite fans will love!
While my partner isn’t particularly keen on Marmite, the rest of the family are huge fans, and I am slowly working on converting him too, with recipes like these Marmite chicken dippers.
I love coming up with recipes for special ingredients and new ways to use them and while Marmite it great for spreading on toast, it can be used in so many more ways!
So, to find a way to infuse the flavours of Marmite right into these chicken bites, I mixed up spoonfuls of Marmite with homemade breadcrumbs and then pre-baked them in the oven until crispy. Not only does this method get the Marmite into every bite, it helps to make the oven-baked chicken bites crispier too, which can be difficult when you don’t fry them.
What’s more, is that the Marmite breadcrumbs can be made ahead and stored, so you are not only saving money by using up stale bread, but you can prep for future meals with ease.
And, if you’re looking for the perfect dip to dunk these in, try this Blue Cheese Ranch Dip!
Check Out More Marmite Recipes:
Equipment Needed:
- Blender or Food Processor: To create the breadcrumbs.
- Rolling Pin and Plastic Food Bags: To flatten the chicken breasts without making a mess. You can also use clingfilm (plastic wrap)
- Shallow Mixing Bowls (2): One for preparing the batter and another for the toasted breadcrumbs.
- Whisk: To mix the batter ingredients thoroughly.
- Tongs: For dipping the chicken strips into the batter and breadcrumbs.
- Large Baking Tray or Baking Sheet: For toasting the breadcrumbs and baking the chicken strips.
Ingredients:
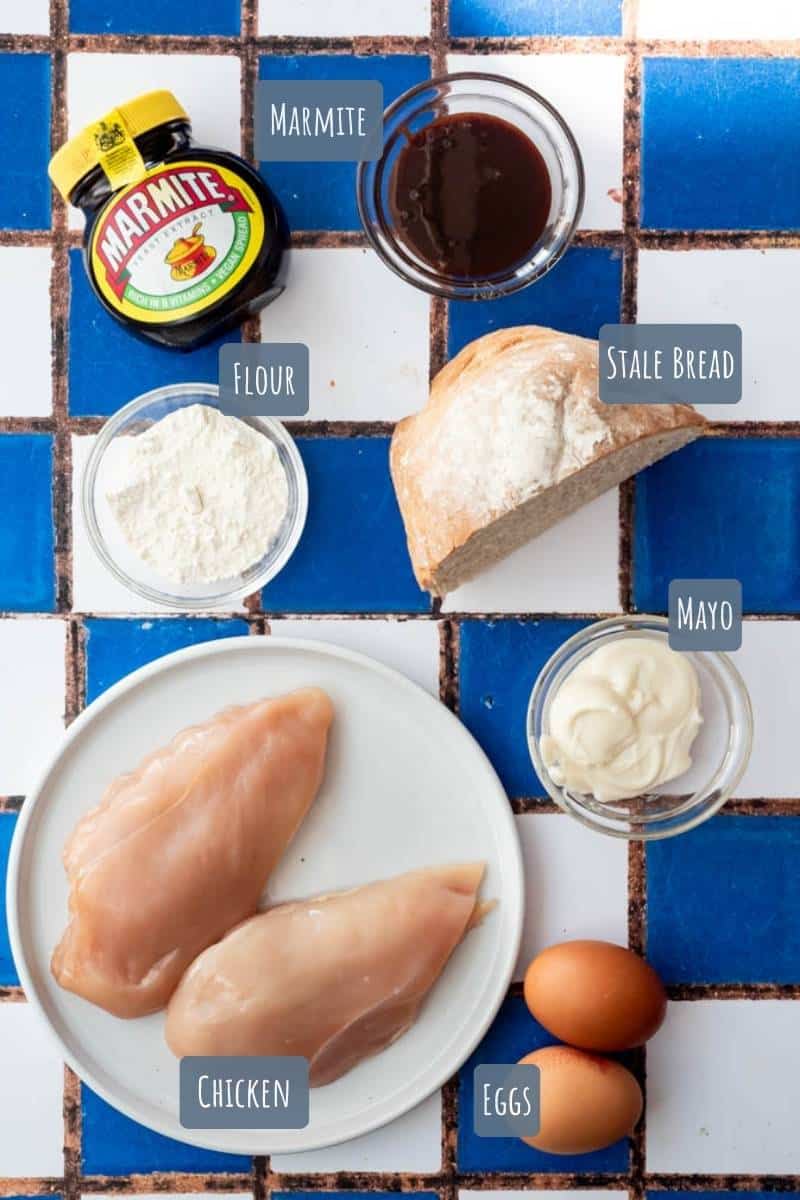
- Stale Bread: We are creating our own crispy Marmite-flavoured breadcrumbs and stale bread works best when blending.
- Marmite: Our star ingredient. You can also use a different brand yeast extract but there might be a slight flavour variation.
- Chicken Breasts: Use skinless, boneless chicken breasts for this recipe.
- Plain White Flour: Use an all-purpose flour.
- Eggs: Fresh eggs are best.
- Mayonnaise: Mixed into the batter for added richness and to help the coating adhere better.
Substitutions and Additions:
Wondering if you can substitute or add an ingredient? Here, I will tell you if that’s possible.
Substitutions
- Chicken Breasts: Use chicken thighs for an alternative, or try turkey breast strips or tofu instead.
Additions
- Cheese: Mix finely grated Parmesan into the breadcrumb coating for a cheesy crust.
- Herbs: Add dried parsley, thyme, or oregano to the batter or breadcrumbs for added depth of flavour.

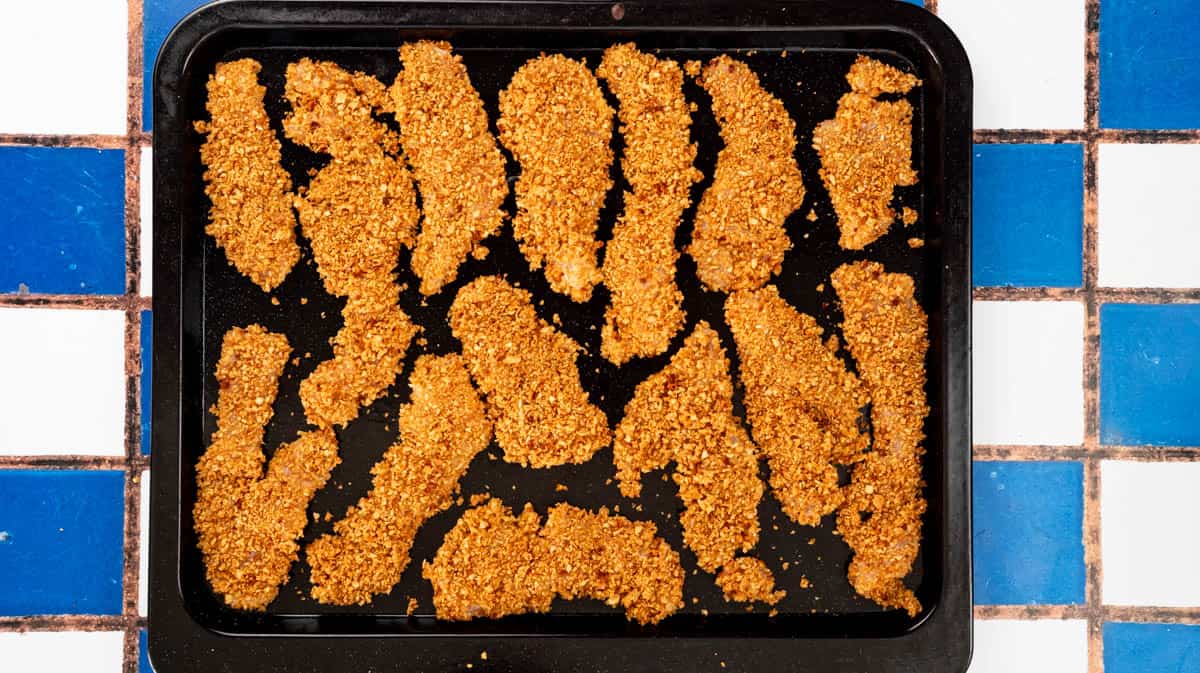
Step-By-Step Guide – How To Make Marmite Chicken Dippers




Prep-Ahead Time Saving Tips for Marmite Chicken Dippers
Planning ahead makes this recipe even faster! Here are some ways to streamline your prep:
TOTAL TIME SAVED:
20 MINUTES
Blend and Toast (Save 10 minutes): Blend the stale bread into breadcrumbs and mix them with Marmite. Toast the mixture and store the crispy breadcrumbs in an airtight container at room temperature for up to 1 month or store in the freezer for 3 months.
Flatten and Slice (Save 10 minutes): Flatten the chicken breasts and slice them into strips. Store in an airtight container in the fridge for up to 24 hours, or freeze in a resealable bag for up to 3 months. Defrost fully in the fridge before using.
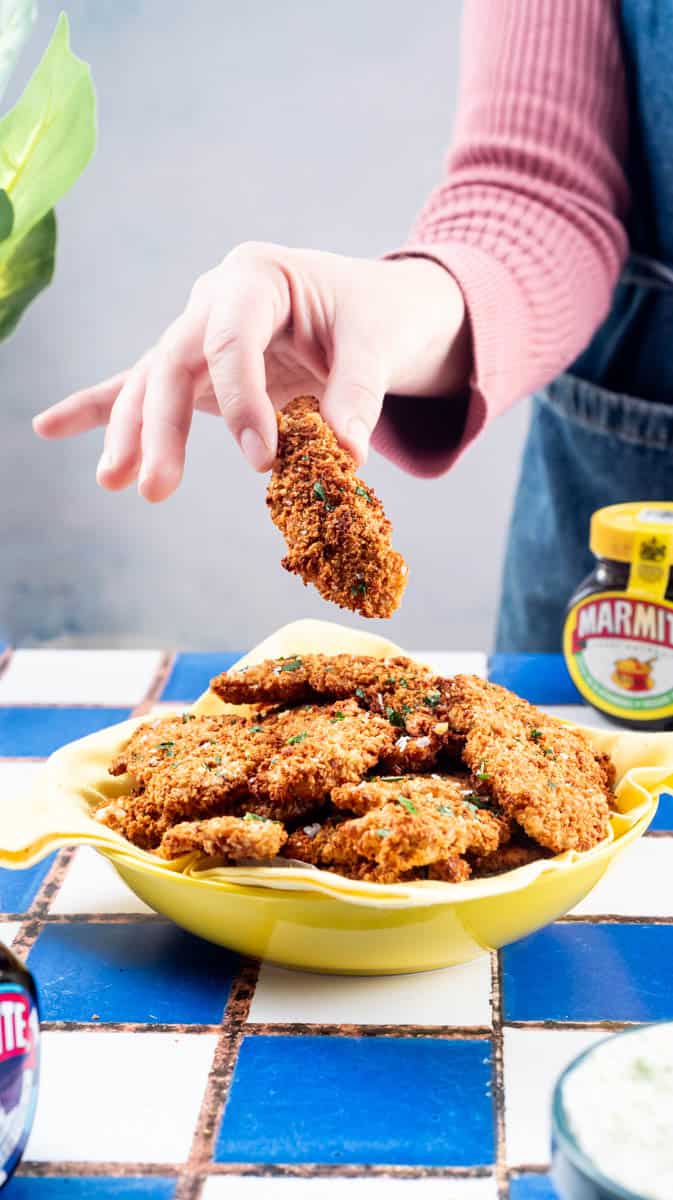
Frequently Asked Questions
Yes, you can use fresh bread, but you’ll need to dry it out first. Simply tear the bread into pieces and bake it at a low temperature (around 120°C/250°F) for 5-10 minutes until it’s dry enough to blend into breadcrumbs.
Make sure the chicken strips are evenly coated in the batter and that any excess drips off before transferring them to the breadcrumbs. Press the breadcrumbs gently onto the chicken to help them adhere.
Yes, you can shallow fry the chicken strips in oil over medium heat until golden and cooked through, about 3-4 minutes per side.
Mastering This Recipe – Expert Tips
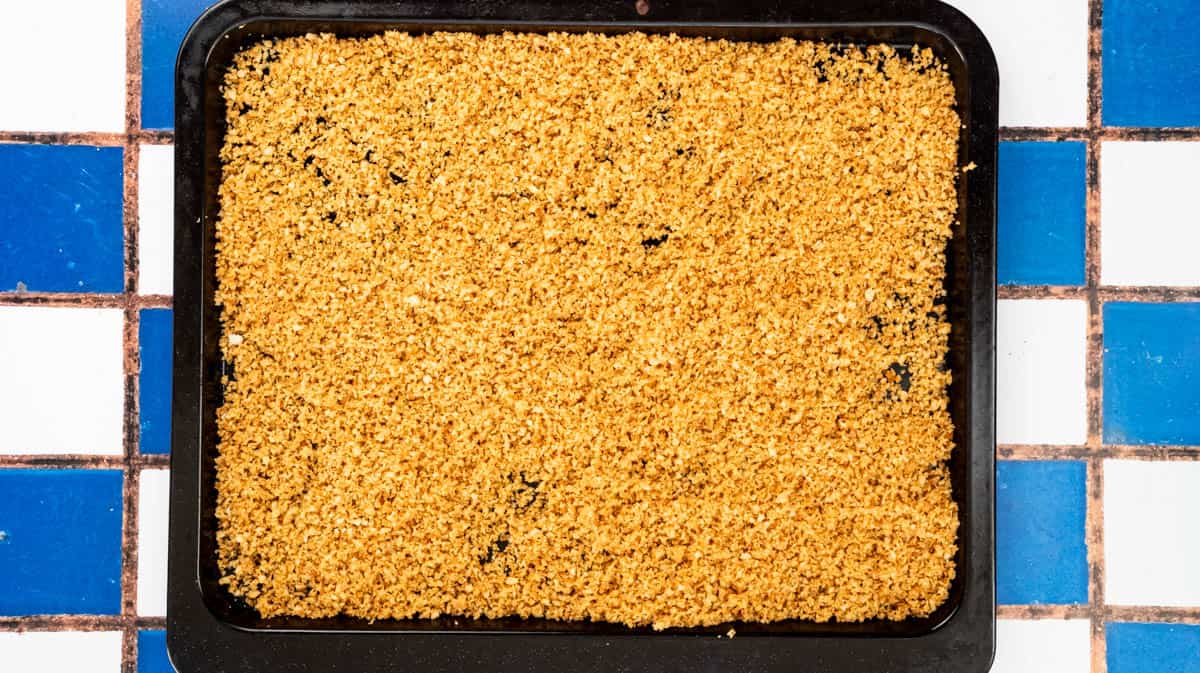
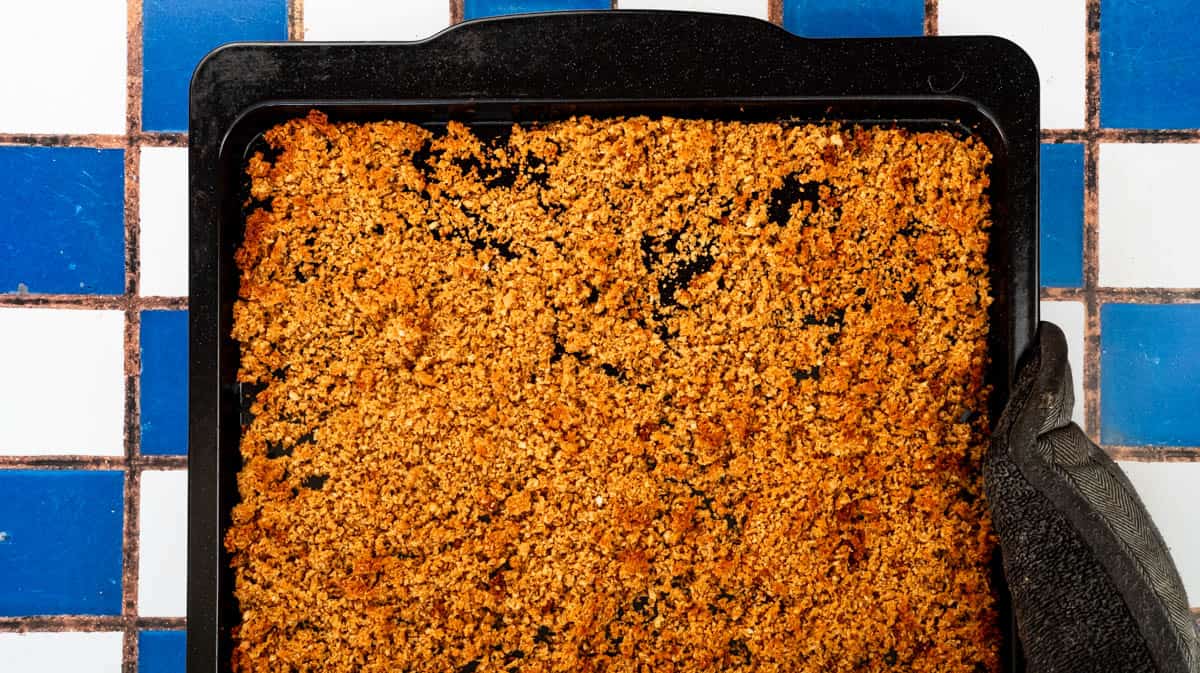
- Toast the Breadcrumbs Evenly: Spread the breadcrumbs in a thin, even layer on the baking tray before toasting. Stir halfway through the toasting process to ensure all the crumbs are crispy and golden.
- Don’t Overload the Tray: Place the chicken strips in a single layer with space between each piece on the baking tray. Crowding the tray will prevent even browning and may make the strips soggy.
- Customize the Marmite Level: Adjust the amount of Marmite in the breadcrumbs based on your preference. But don’t make them too soggy.
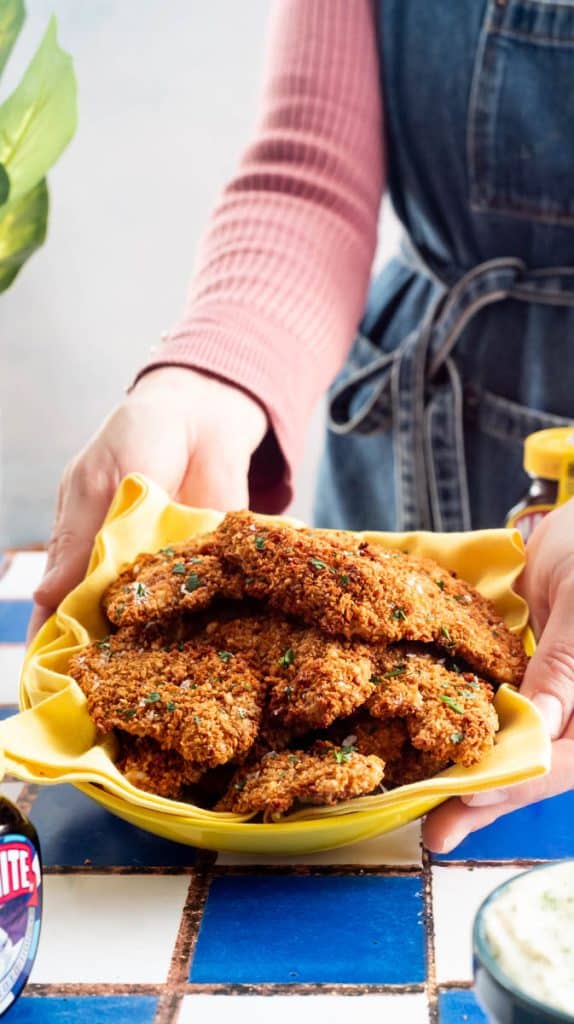
Storage
Storage:
- Store leftover Marmite chicken strips in an airtight container in the refrigerator for up to 2 days. Make sure the chicken has cooled completely before sealing the container to prevent condensation from making the breadcrumbs soggy.
Reheating:
- Reheat the chicken strips in a preheated oven at 180°C (350°F) or in an air fryer for about 5-8 minutes. This will help restore their crispy coating. Avoid microwaving, as it can make the breadcrumbs soft and less appetising.
Freezing:
- Marmite chicken strips can be frozen before or after baking:
- Before baking: After coating the chicken strips in breadcrumbs, lay them out in a single layer on a baking sheet and freeze until firm. Once frozen, transfer the strips to a freezer-safe bag or container and store for up to 3 months.
- After baking: Allow the cooked chicken strips to cool completely, then freeze them in a single layer on a baking sheet. Once firm, transfer to a freezer-safe container or bag and freeze for up to 2 months.
Defrosting:
- If frozen before baking, cook the strips directly from frozen, adding an extra 5-7 minutes to the baking time.
- If frozen after baking, reheat them directly from frozen in the oven or air fryer at 180°C (350°F) for about 10-12 minutes, flipping halfway through.
Important Tip:
- Always ensure that leftover chicken is reheated to an internal temperature of 75°C (165°F) to ensure it’s safe to eat.

Crispy Baked Breaded Marmite Chicken Dippers
Ingredients
- 400 g Stale Bread
- 4 tbsp Marmite
- 4 Chicken Breasts
- 4 tbsp Plain White Flour
- 2 Large Eggs
- 4 tbsp Mayonnaise
Instructions
- Preheat the oven to 180°C (350°F).
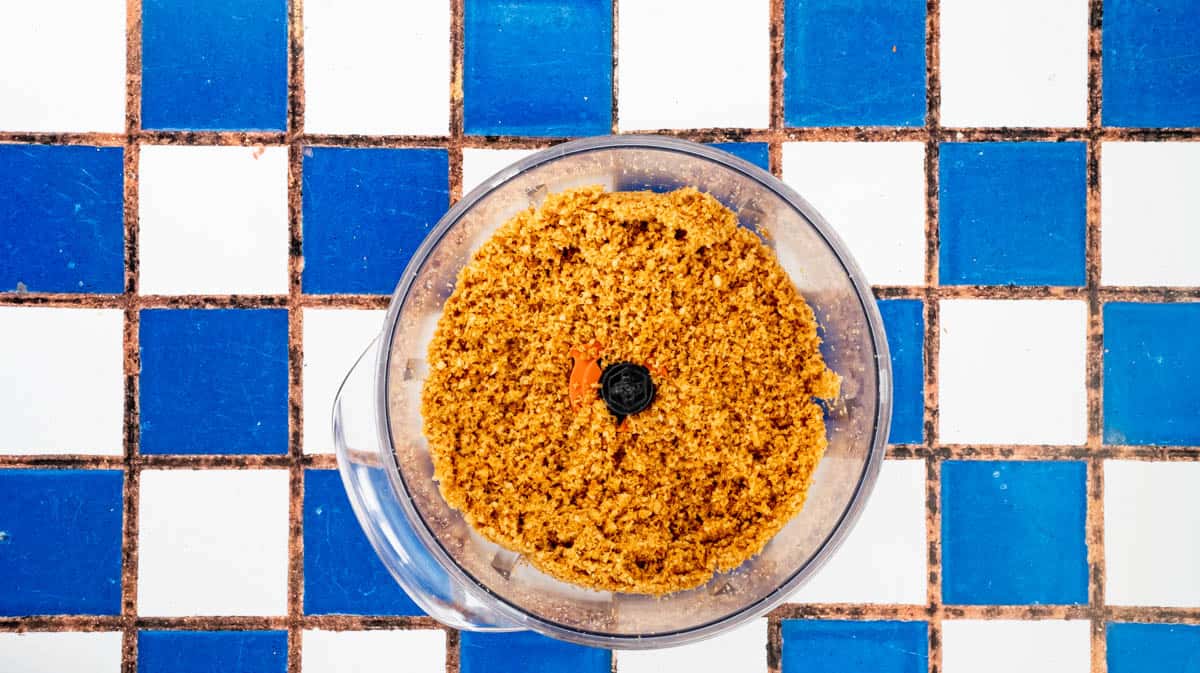
- In a blender place the stale bread and blend to create breadcrumbs.
- Add the Marmite and mix again to coat the breadcrumbs evenly.
- On a large baking tray, lay out the breadcrumbs in a thin even layer and place in the oven to toast for about 10 minutes until the breadcrumbs are crispy and golden.
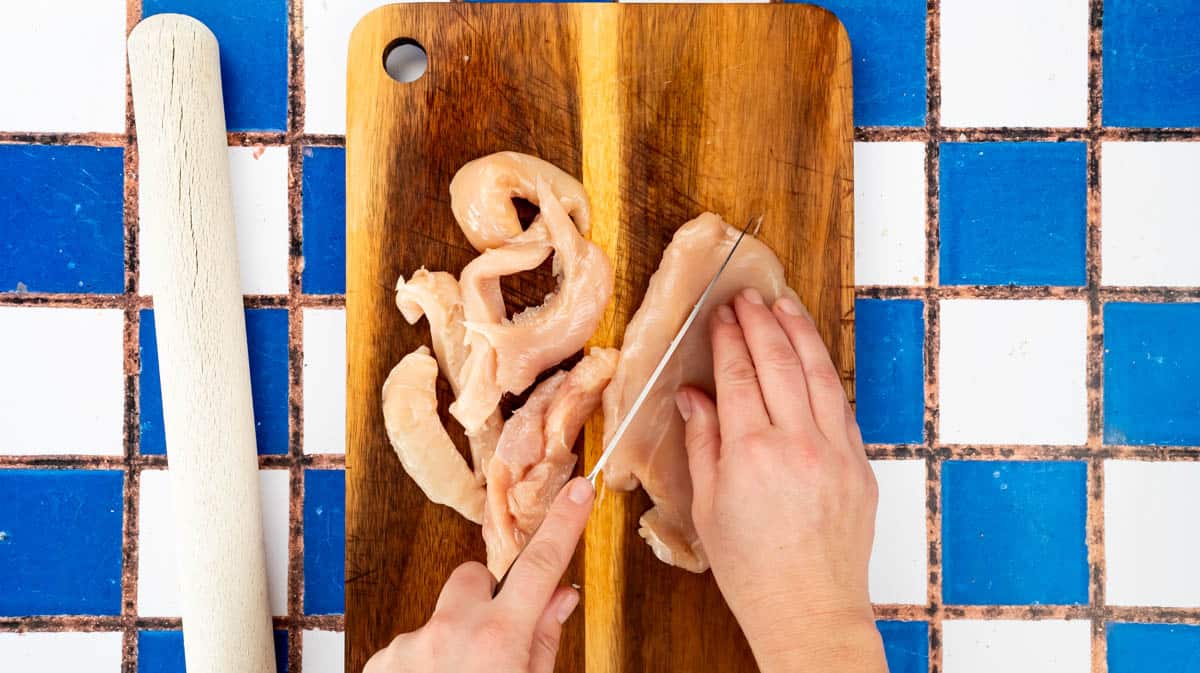
- While the breadcrumbs are toasting, place each chicken breast one at a time inside a plastic food bag and flatten using a rolling pin.
- Slice the flattened chicken breasts into strips.
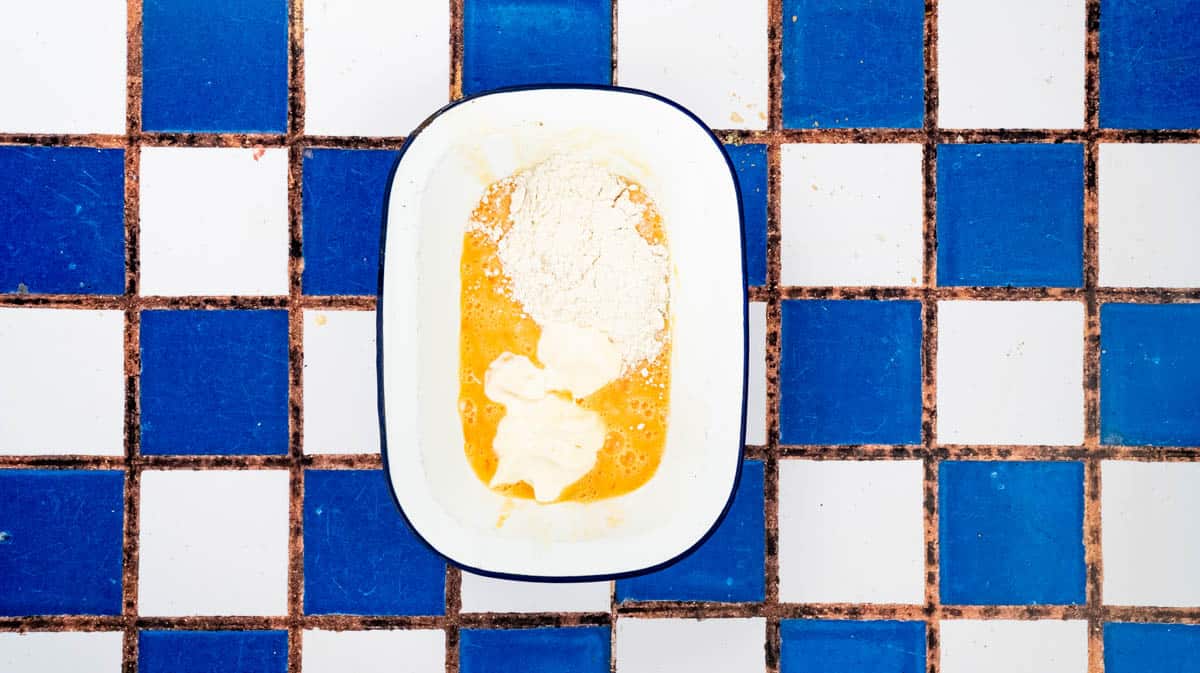
- In a bowl mix the flour, eggs and mayonnaise and whisk to create a batter.
- When the breadcrumbs are toasted place them in a separate bowl.
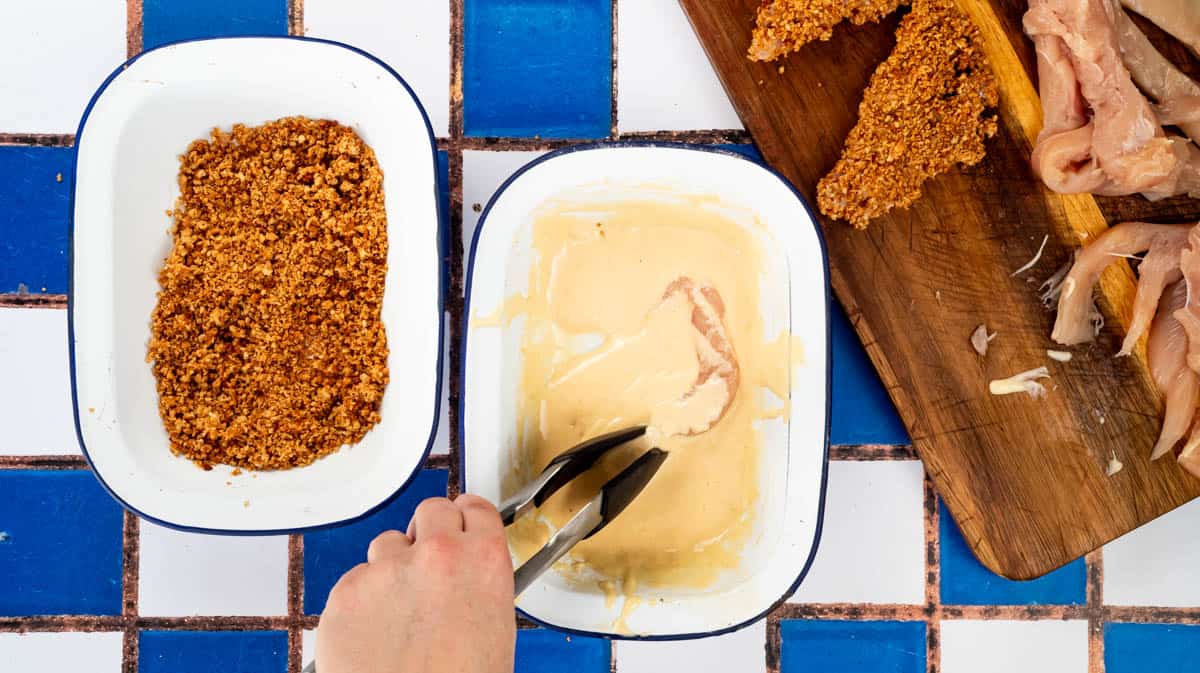
- Dip each strip of chicken into the batter, ensuring that they are evenly coated. Using tongs, allow the excess batter to drip back into the bowl before transferring the strips to the Marmite breadcrumbs.
- Coat the chicken strips evenly with breadcrumbs by spooning them over and gently pressing them to stick.
- Arrange the chicken breasts in a single layer with space between on a lined baking tray or sheet.
- Bake in the oven for approximately 20 minutes. Flip the strips once during baking to ensure they cook evenly on both sides. Remove from the oven when golden and cooked through.
- Serve immediately with a cheesy dip on the side.
Recipe Notes
- Chicken breasts: You can substitute the chicken breasts with chicken thighs.
-
Storage Suggestions:
- Fridge: Leftover Marmite chicken strips can be stored in the fridge for up to 3 days in an airtight container.
- Freezing: The strips can be frozen before or after baking. Store uncooked coated strips in a freezer-safe bag for up to 3 months or cooked strips for 2 months.
- For a cheesy twist: Mix some grated Parmesan into the breadcrumbs for extra cheesy flavour.


