Old Fashioned Autumn Chutney With Apples and Tomatoes

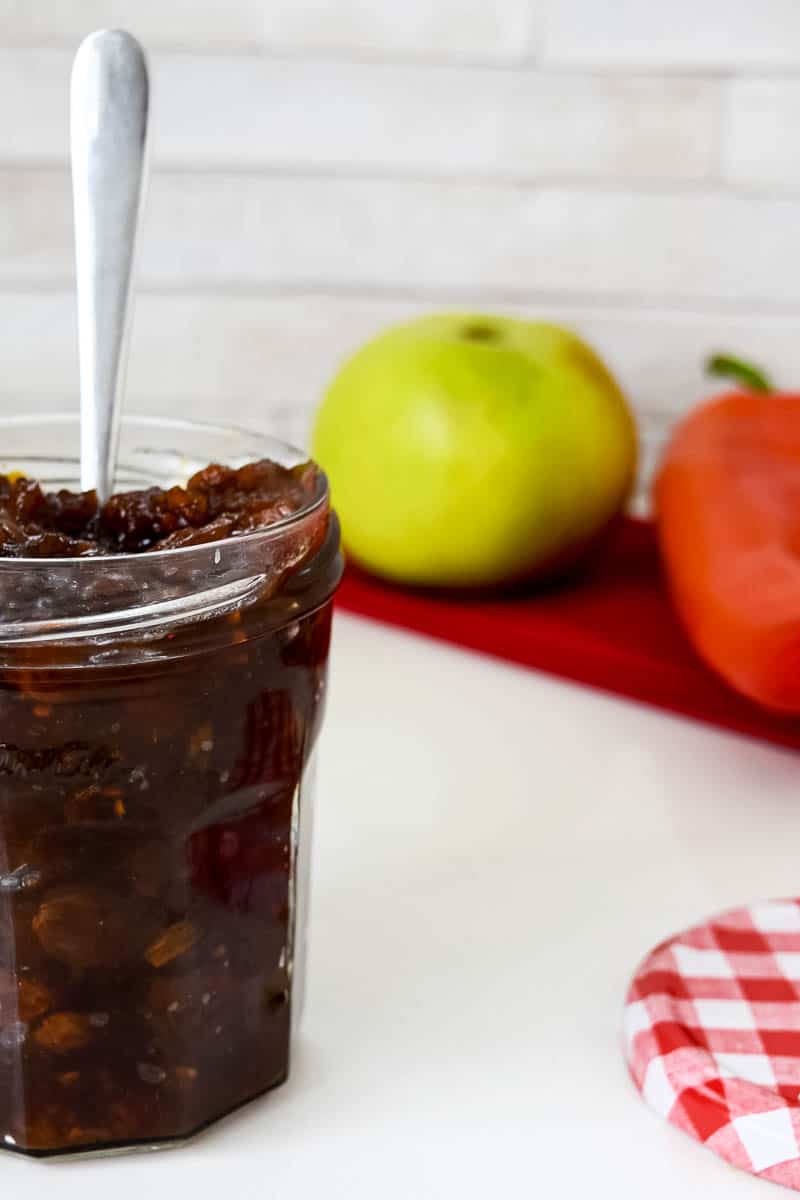
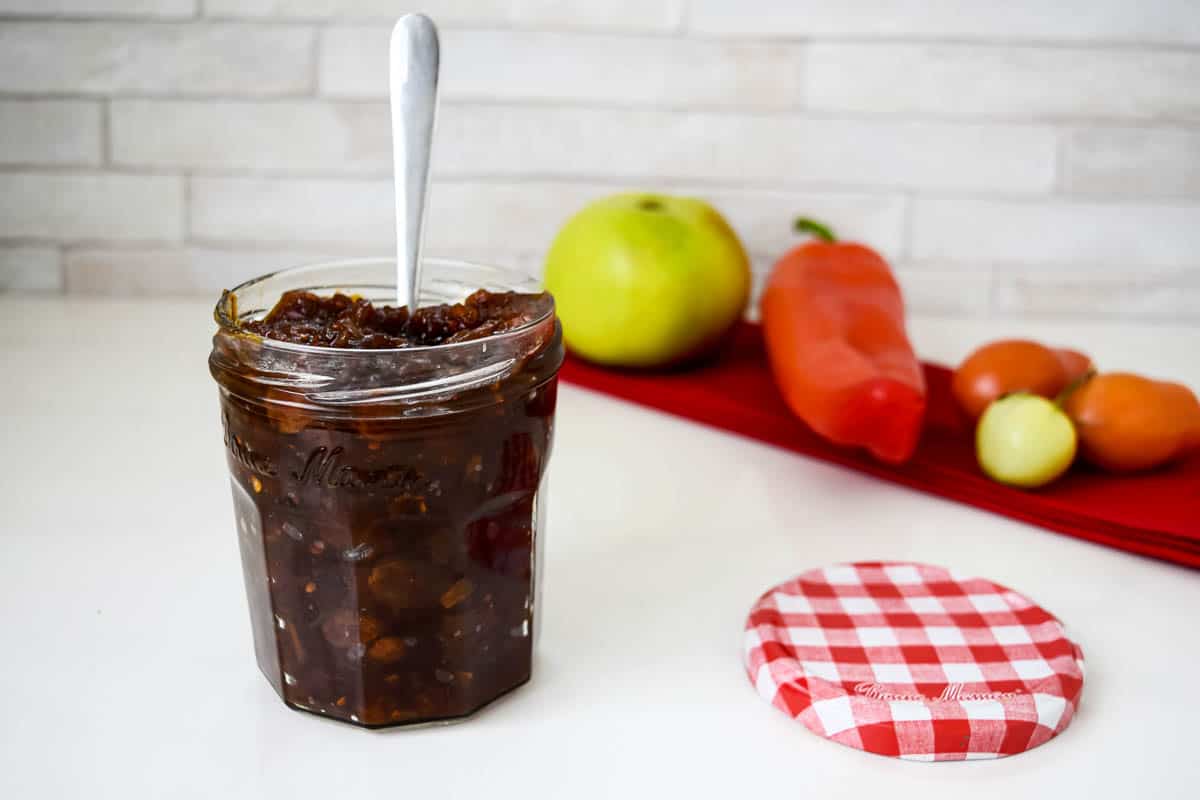
Autumn Chutney is a great way to use up excess homegrown tomatoes at the end of summer. By making your own old fashioned chutney in Autumn, you can leave it to mature ready in time for Christmas.
Recipe Overview
Skill Level:
Intermediate
Prep Time:
5 MINUTES
Cook Time:
30 MINUTES
What Makes This Recipe Great
You can use any types of tomatoes, including unripened green tomatoes. Saving on food waste.
Autumn chutney makes the perfect edible Christmas gift.
All cooked in one pan and easy to prepare.
When you have a glut of tomatoes at the end of summer, you might wonder what to do with them all. Making a Gardeners chutney, is definitely the way to go!
In the UK, I usually find that the weather begins to cool before all the tomatoes in the vegetable patch have had a chance to ripen, especially when you are growing an outdoor variety. The good news is that this chutney recipe is the perfect way to use them all up, save on food wastage and as a bonus you will have a delicious chutney that can be enjoyed all year long.
There are many gardening to do jobs in Autumn, to help you put your garden to bed for the winter. Harvesting what’s left of your own home grown tomatoes to make this chutney is another job to add to the list, which is one that is not only rewarding, but is fun too.
You can use any kind of tomatoes you like. Green or red ones, cherry tomatoes or the plum tomato variety, or a mixture of them all. Whatever you have left over will work.
As well as tomatoes, this recipe also uses cooking apples. If you’re lucky enough to have your own Bramley apple tree too, you’re basically all set! All the fresh ingredients used in this recipe are in season during autumn and the rest will be store cupboard ingredients that are easy to source.
Jars of chutney make great Christmas presents for your friends and family members too. You can gift a jar of chutney as part of a hamper with delicious cheese and crackers and the great news is that this chutney will improve in flavour in a couple of months, if you are prepared to wait. Just in time for you to enjoy this chutney at Christmas.
What is Chutney?
Chutney originated in India and is used to describe a variety of different condiments that can be either fresh or pickled and contain a variety of ingredients.
British style chutney is a condiment that is made using a preservative of vinegar and sugar. It can be made with a number of different ingredients but most often containing a mixture of fruit or vegetables. Often, tart apples, or another sharp tasting fruit are added and then sweetened with sugar and preserved in vinegar.
Historically, making chutney, was a way to prolong the use of these fruit and vegetables all year long, before refrigerators were commonplace in households.
As well as a number of fresh ingredients, dried fruit such as sultanas or raisins are typically added as well as various spices to deepen the flavours.
Check Out More Chutney Recipes:
Equipment Needed:
- Large, Heavy-Bottomed Saucepan: You’ll need a large saucepan that will comfortably fit all the ingredients in with space at the top to prevent it over-spilling as it cooks.
- Food Processor or Blender: To ensure the correct consistency for the tomato chutney, we use a blender for the ingredients before they cook.
- Chopping Board and a Sharp knife: To prepare some of the chutney ingredients.
- Measuring Equipment: For the best results it’s important to use measuring jugs and digital scales to weigh everything out.
- Wooden Spoon or Spatula: Used for stirring the chutney as it cooks.
- Sterilised Jars with Lids: You’ll need some clean jars to store the prepared chutney in. This recipe yields about 5-6 450ml Jars, so make sure you have enough to hand. Since this recipe is acidic, I recommend using jars with plastic coated lids. This helps to prevent the acid reacting with the metal in the lid. You can also top the chutney with waxed discs and cellophane covers before closing the lids to extend the shelf life.
- Ladle, Spoon or Funnel: Used for filling the jars.
- Cooling Rack or Heatproof Surface: Save your work surfaces and be sure to place the hot jars of chutney on a heatproof surface or wire rack to cool down before storing.
Ingredients:
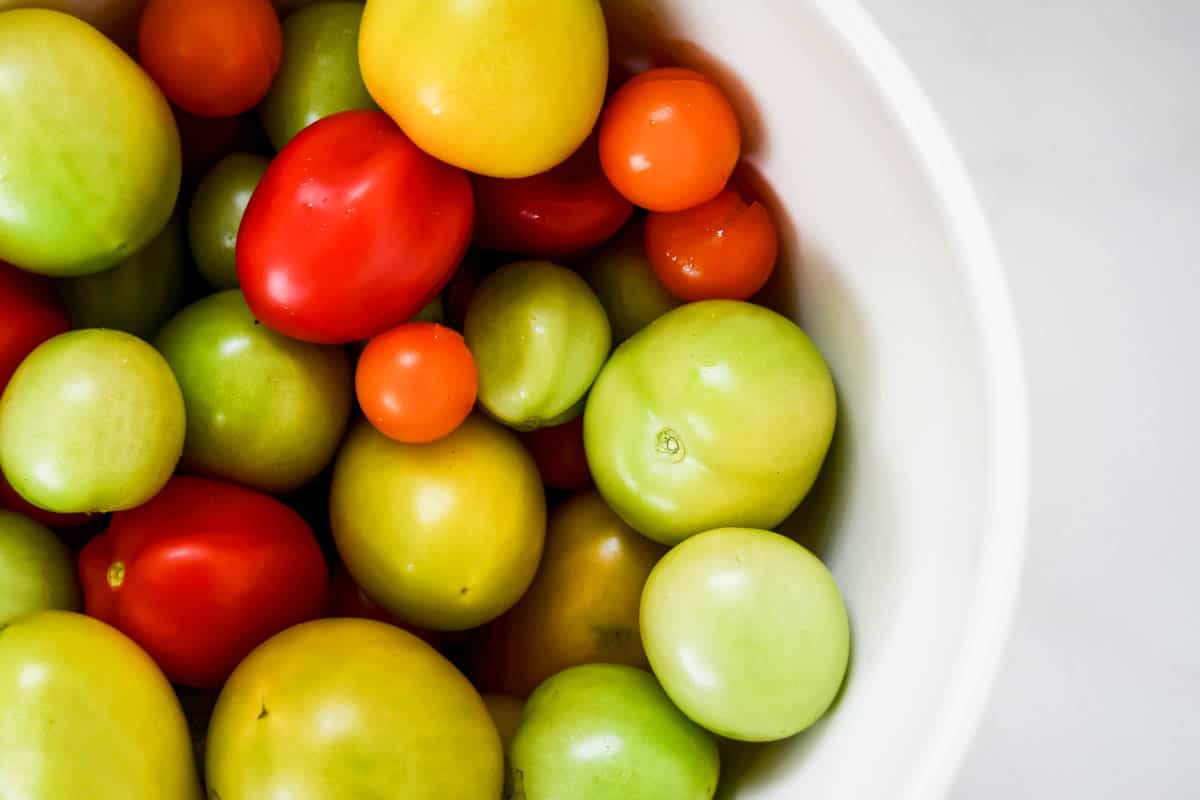
- Tomatoes: You can use a mixture of red and green tomatoes of any variety in this gardeners chutney recipe.
- Red Bell Peppers: Red ones work best but you can also use green ones too.
- White Onions: Red onions or brown onions are also fine to use.
- Garlic: Use large fresh garlic cloves.
- Chilli: I use a medium-sized mild red chilli. Depending on how spicy you want your chutney, you can deseed it before adding or leave the seeds in. It’s important to note that the flavours will mature over time, meaning the spiciness of the chutney tends to increase, so don’t go overboard here.
- Fresh Ginger: You can also use jarred lazy ginger too, but not stem ginger.
- Mustard Seeds: I use yellow mustard seeds.
- Sultanas: Bring sweetness and texture to the chutney.
- Cooking Apples: Add natural pectin to thicken the chutney and balance the acidity.
- Flaked Sea Salt: Enhances the flavours of all the ingredients.
- Allspice: Adds a warm, spiced undertone.
- Malt Vinegar: Provides acidity and acts as a preservative.
- Dark Brown Soft Sugar: Sweetens the chutney and helps achieve a rich, sticky consistency.
Step-By-Step Guide – How To Make Old Fashioned Autumn Chutney
Frequently Asked Question
Yes, you can use just red or green tomatoes. Red tomatoes will give the chutney a sweeter flavour, while green tomatoes will make it more tart and tangy.
Reducing the sugar may alter the texture and preservation of the chutney. However, you can experiment by lowering it slightly, but keep in mind the chutney may not be as thick or long-lasting.
Yes, you can omit the chilli for a milder chutney. If you still want a slight kick without too much heat, you can use a milder pepper.
Adding the sugar later allows the chutney to reduce and thicken properly before sweetening, preventing it from burning or becoming too thick too soon.
The chutney is ready when it reaches a jam-like consistency. You can test this by running a spoon through the mixture; it should leave a trail that doesn’t fill back in immediately.
Mastering This Recipe – Expert Tips
- Warm the Glass Jars Before Filling: When you add warm chutney to a cold glass jar, you risk it cracking. You can gently heat the glass jars in the oven before adding the warm chutney to prevent this.
- Blend your ingredients to your desired texture but I recommend stopping before the chutney ingredients are completely smooth. Autumn Chutney will taste better with a bit of texture.
- Stir it Often: It’s important to observe your chutney regularly and stir it often to ensure it doesn’t burn. If it burns, it will ruin the flavour of the chutney.
- Stick to a Low Heat: Don’t be tempted to turn up the heat. Allow the chutney the time to reduce and thicken slowly. This will help the flavours to develop.
What to Serve With Tomato and Apple Chutney
This Autumn chutney recipe pairs well with:
- Cured Meats and Cheeses as part of a charcuterie board or a buffet.
- Crackers and Savoury Biscuits.
- Breadsticks
- Focaccia, Fresh Bread, Flatbread or Pittas.
- Cheese Scones
- Inside Sandwiches or served with a Ploughman’s Lunch.
Storage
It is best to store Autumn chutney in sterilised, sealed jars. For the best flavour, store the sealed jars for 2 months before eating to help the flavours deepen and mature.
- Unopened chutney: When stored in sterilised jars, the chutney can be kept in a cool, dark place (like a pantry) for up to 12 months. Ensure the jars are properly sealed to prevent contamination.
- Opened Chutney: Once opened, store the chutney in an airtight jar in the fridge. It will last for up to 4 weeks in the fridge.
- Freezing: I wouldn’t recommend freezing your Autumn chutney, as it can affect the texture and flavour. Instead, focus on properly sealing and storing it in jars.
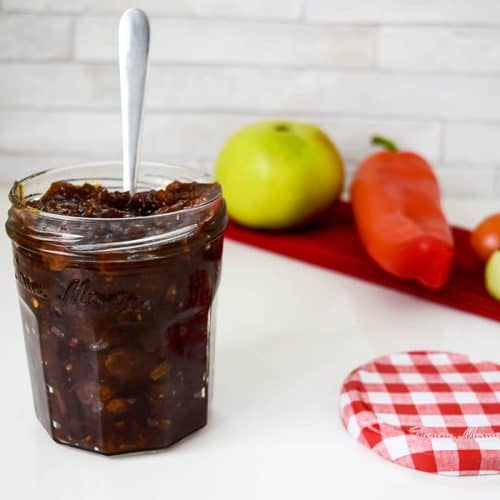
Old Fashioned Autumn Chutney With Apples and Tomatoes
Ingredients
- 1 kg Mixed Red and Green Tomatoes
- 200 g Red Bell Peppers
- 300 g White Onions
- 3 Cloves of Garlic
- 1 Red Chilli
- 1 Thumb Size Piece of Fresh Ginger
- 2 tsp Mustard Seeds
- 200 g Sultanas
- 500 g Bramley Cooking Apples
- 1 tsp Flaked Sea Salt
- 0.5 tsp Allspice
- 575 ml Malt Vinegar
- 450 g Dark Brown Soft Sugar
Instructions
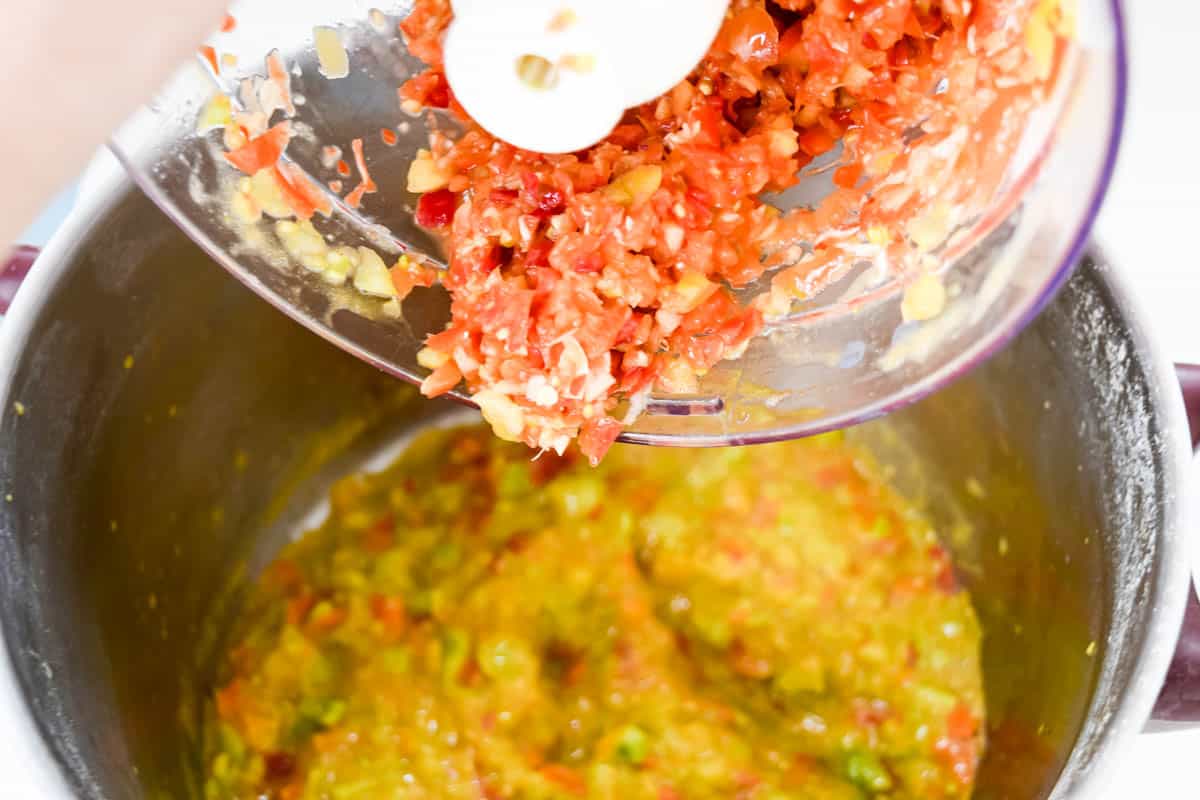
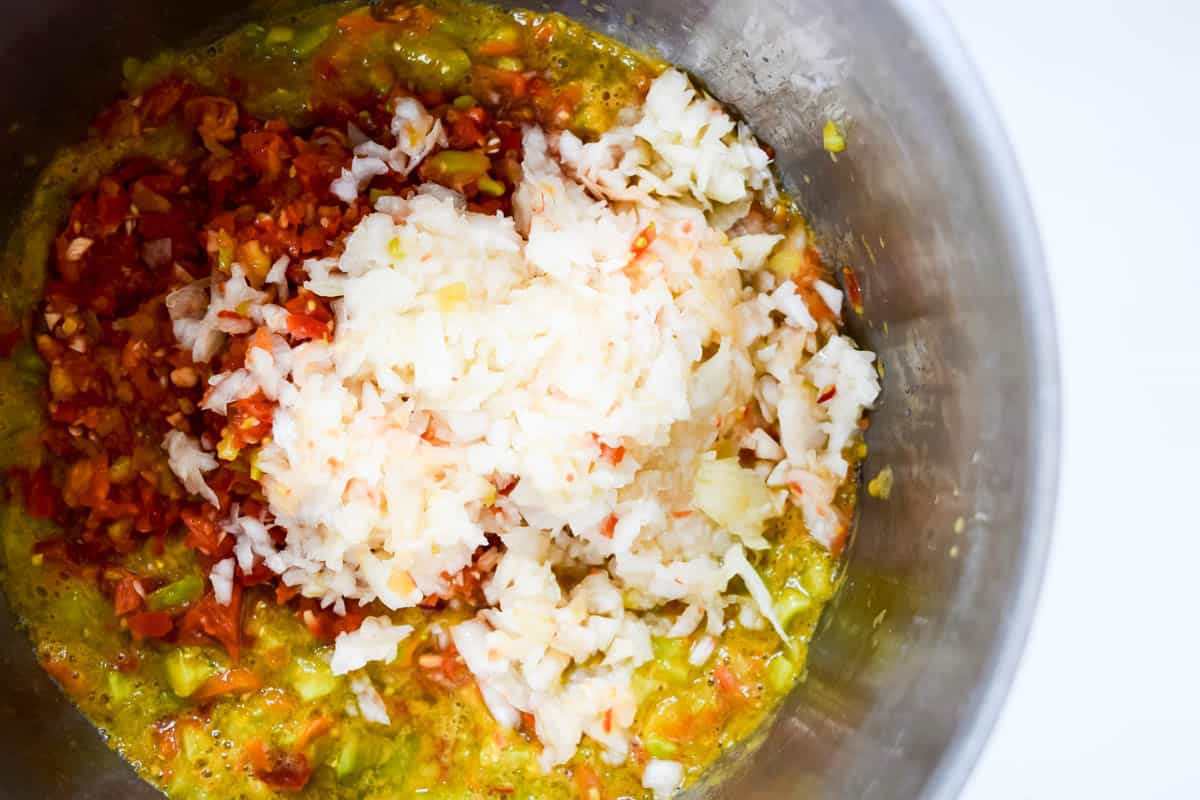
- Begin by preparing the vegetables. Roughly chop the mixed red and green tomatoes and sweet red peppers. Place them into a food processor and blend until smooth. Transfer the tomato and pepper mixture into a large, heavy-bottomed pan.
- Next, peel and roughly chop the white onions, garlic, fresh chilli, and ginger. Add these to the food processor and blend until finely chopped. Transfer the mixture to the pan with the tomatoes and peppers.
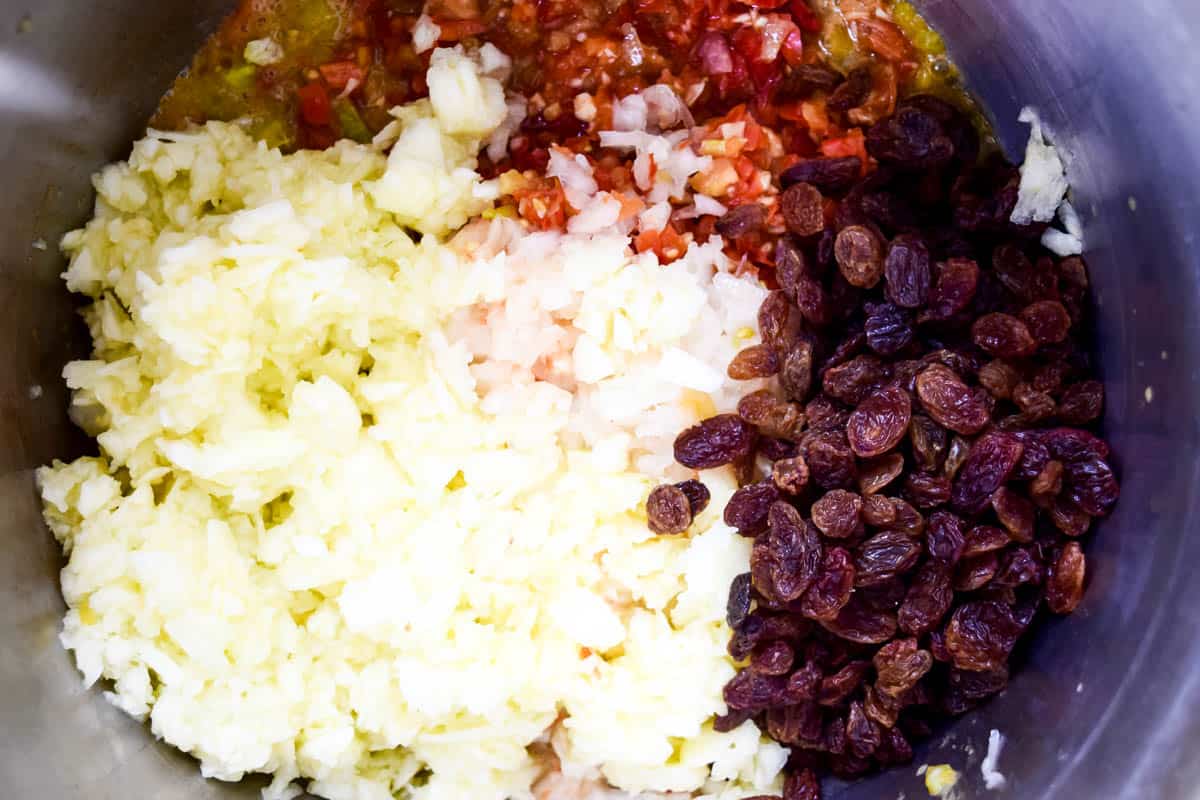
- Add the mustard seeds and sultanas to the pan, stirring them into the vegetable mixture.
- Peel and core the cooking apples, then chop them into small pieces. Blend the apples in the food processor until smooth, then add them to the pan.
- Sprinkle in the flaked sea salt and allspice, ensuring they are evenly distributed throughout the mixture.
- Pour the malt vinegar into the pan and stir well. Place the pan over medium heat and bring the mixture to a gentle boil.
- Once boiling, reduce the heat slightly to maintain a steady simmer. Cook for approximately 1 hour, stirring occasionally to prevent the chutney from sticking to the bottom of the pan. As it cooks, the liquid will gradually evaporate, and the chutney will begin to thicken.
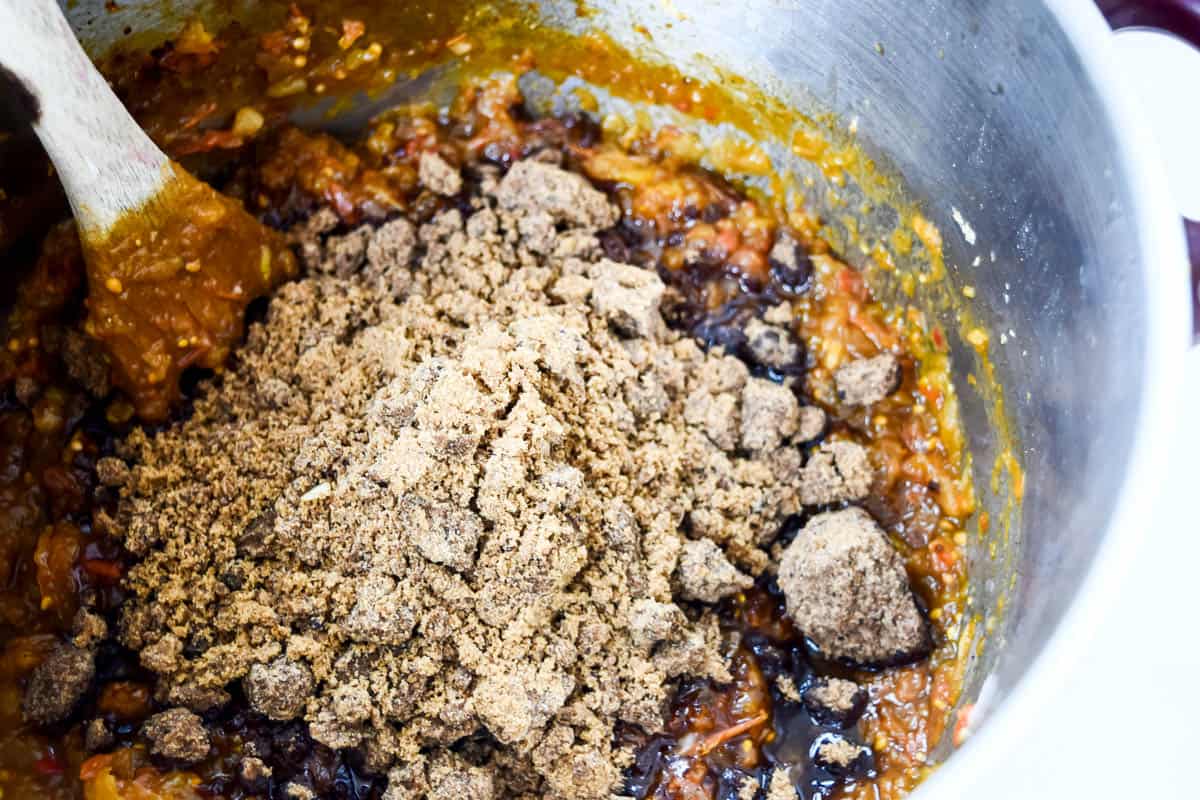
- After 1 hour, add the dark brown soft sugar to the pan. Stir thoroughly to dissolve the sugar and continue cooking the chutney for another 40 minutes to an hour, stirring regularly to prevent burning.
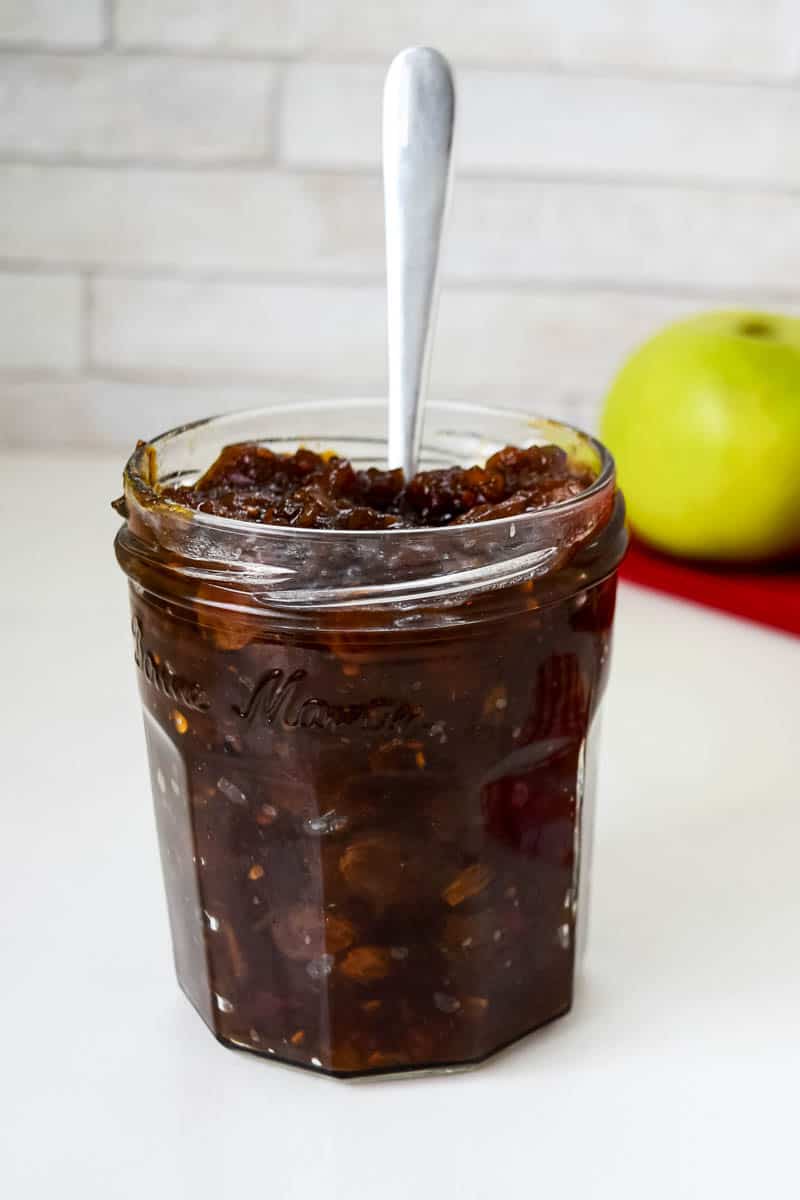
- The chutney is ready when it has thickened to a jam-like consistency. Remove it from the heat and allow it to cool slightly.
- Carefully spoon the chutney into sterilised jars while it is still hot. Seal the jars tightly and allow them to cool completely at room temperature.
- You can enjoy the chutney straight away once cooled, but for the best flavour, leave it to mature in the sealed jars for at least a couple of months before serving. Store the jars in a cool, dark place.
Recipe Notes
- Key Points: Make sure to stir frequently during cooking, especially after adding the sugar, to prevent the chutney from sticking to the bottom of the pan and burning. Don’t rush the cooking time by turning up the heat.
- For the Best Flavour: Leave the chutney to mature for at least 2 months before using.
- Warm Glass Jars: To prevent them from cracking when adding the warm chutney.
- Storage Suggestions: Store unopened chutney jars in a cool, dark place for up to 12 months. Once opened, refrigerate and consume within 4 weeks.


I made this chutney today and oh it is delicious, just had a little that was left in the pan with some cheese. I will store the rest for a couple of months. Lovely recipe, thank you
You’re very welcome Liz, I’m happy you like the recipe.
This is great – very simple compared to many chutney recipes, so easy to adjust to your taste, just watch out for the sweetness. I halved the sugar, doubled the paprika and chilli and added a good glug of vinagar from a pickled onion jar