Soft Swirled Cheddar Cheese and Marmite Bread Loaf
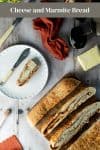
A soft bread loaf that’s perfect for those Marmite lovers in your life. It’s easy to make and packed full of cheese and marmite flavour. A real favourite in my house.

What Makes This Recipe Great!
- Perfect Flavour Combination – The savoury tastes of strong cheddar and Marmite are a match made in food heaven!
- Easy To Make – With my step-by-step instructions you can make this bread recipe with ease.
- Versatile Uses – It’s a great option for breakfast, lunch or snacks.
About This Recipe – In More Detail
I know Marmite isn’t for everyone, but even the so-called “Marmite Haters” in my house, love this bread.
There is something about the combination of Cheddar and Marmite that go so well. The two flavours compliment each other perfectly.
Marmite bread can be enjoyed in lots of different ways. We like to team it up with “Dippy Eggs” in the morning, or toast it and spread it with orange marmalade (I know, that sounds weird but trust me, it’s surprisingly great). You can also use it for a sandwich bread, dip it into soup or simply eat it on its own as a snack.
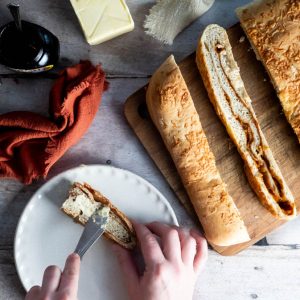
With the Marmite and cheese flavours swirled throughout the bread, there is flavour in every slice. And, it’s looks rather pretty too!
Cheese and Marmite bread is something that doesn’t last long in our house and it’s a recipe I make on a regular basis. If you’ve never tried it, now is your chance. Hopefully, you can even convert those haters into Marmite fans too!
And, if you love Marmite, check out these Cheese and Marmite Hot Cross Buns next!

Equipment Needed
- Measuring Scales – I recommend using digital scales to accurately measure all ingredients for this recipe.
- Large Baking Tray/Large Baking Tin – a large tin with high sides is ideal for rising and baking the dough. Line the baking tin with Baking Paper/Parchment Paper to prevent the loaf from sticking.
- Large Mixing Bowl – A large bowl is used to mix all the dough ingredients.
- Wooden Spoon/Rubber Spatula – used to start and mix all the dough ingredients before kneading.
- Stand Mixer With Dough Hook Attachment (optional) – If you have one to hand, you can use a food mixer for ease when preparing and kneading the dough.
- Grater – For grating the cheddar cheese.
- Small Microwave-Safe Bowl – Used for melting the Marmite making it softer and more easily spreadable.
- Rolling Pin (optional) – You can choose to flatten the dough by hand or with a rolling pin.
- Clean Cloth / Cling film / Plastic Bag – Used to cover the baking tin to create a warm environment for the dough to rise efficiently.
- Wire Rack – place the dough on a cooling rack after baking to prevent the bottom turning soggy as the marmite loaf cools.
Ingredients
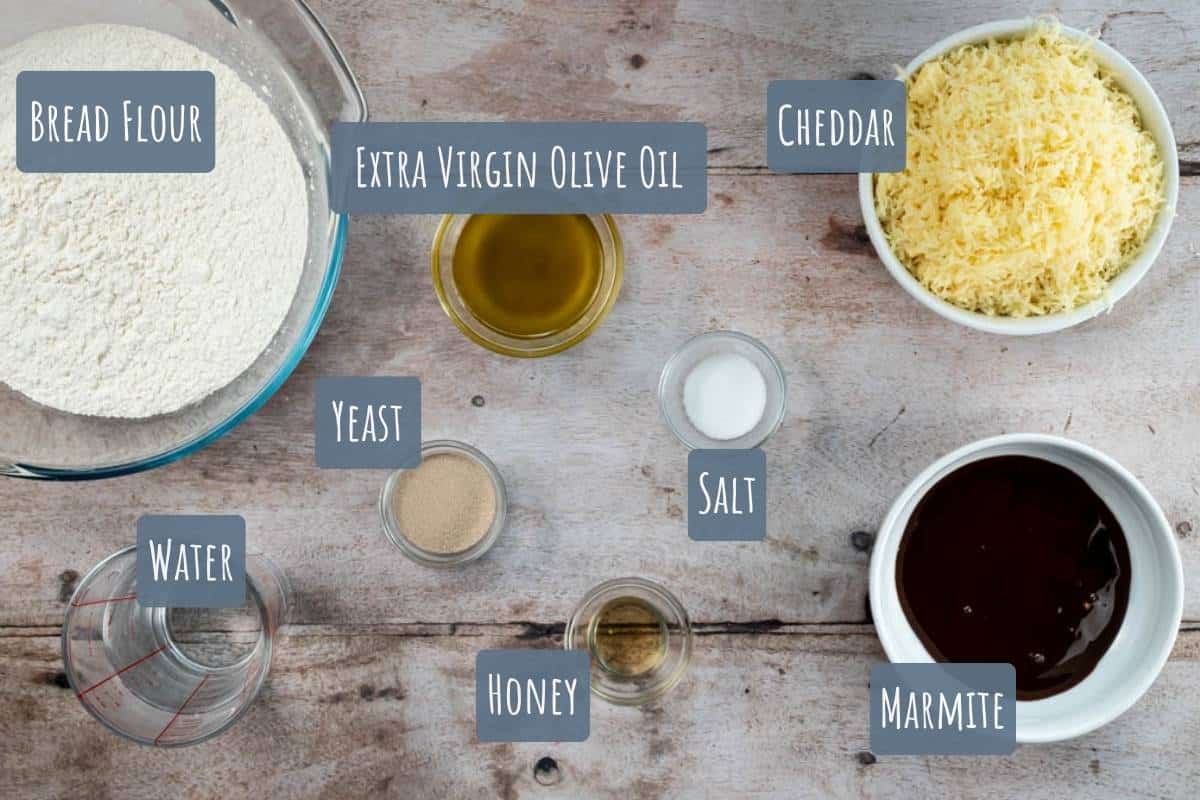
- Strong White Bread Flour – Contains more protein than regular Plain flour and therefore builds a better gluten structure in the bread.
- Dried Yeast – The raising agent in this recipe. Instant yeast is fine.
- Fine Sea Salt – Strengthens the gluten and improves the taste.
- Honey – Begins to feed the yeast and help it rise the bread.
- Extra Virgin Olive Oil – Adds richness to the dough making it softer.
- Water – Water for breadmaking should be slightly warm to allow the yeast to activate and begin working. If you want to be precise the temperature should be 32°C to 43°C (90°F to 110°F).
- Cheddar – A strong sharp cheddar cheese makes the best addition to this recipe. It pairs well with the marmite.
- Marmite – Has a strong, salty taste that you either love or hate!
Additions and Substitutions
Substitutions
- Bread Flour – Although I recommend sticking to strong white flour you can substitute some of it with wholemeal bread flour and create a brown bread loaf. Do not replace the whole amount a flour with wholemeal, otherwise you will find that the loaf will be too dense 1/4 to 1/2 is sufficient.
- Yeast – Fresh yeast can be used in place of dry yeast but increase the amount x 3.
- Extra Virgin Olive Oil – you can use regular olive oil or unsalted butter as a substitution to the extra virgin olive oil. If you want to use butter, replace the oil with 30 g butter that has been softened.
- Honey – Instead of honey, you can use white sugar in its place. Granulated or Caster sugar is fine.
- Water – For a richer loaf, you can use some warm milk in place of some of the water. I would recommend using a full fat milk if you can.
- Cheddar – feel free to experiment with different cheeses. You can add mozzarella to the top or replace some of the cheese with some parmesan four different flavour combinations.
- Marmite – For best results stick with Marmite, but you can also use any other brand of yeast extract that you can find.
Additions
- Bacon – Add a handful of cooked crispy bacon to the dough. Bacon will go well with the other flavours present in the recipe.
- Jalapenos – If you like things spicy, add some sliced jalapenos to the dough mixture.
- Herbs – add some hubs of your choice to deepen the flavour. Rosemary, thyme or fresh chives will all work well in this recipe.
- Onion – A little fried onion or caramelised onion chutney would make a nice addition to this loaf.
- Black Pepper – You can add a little black pepper to taste for extra seasoning.
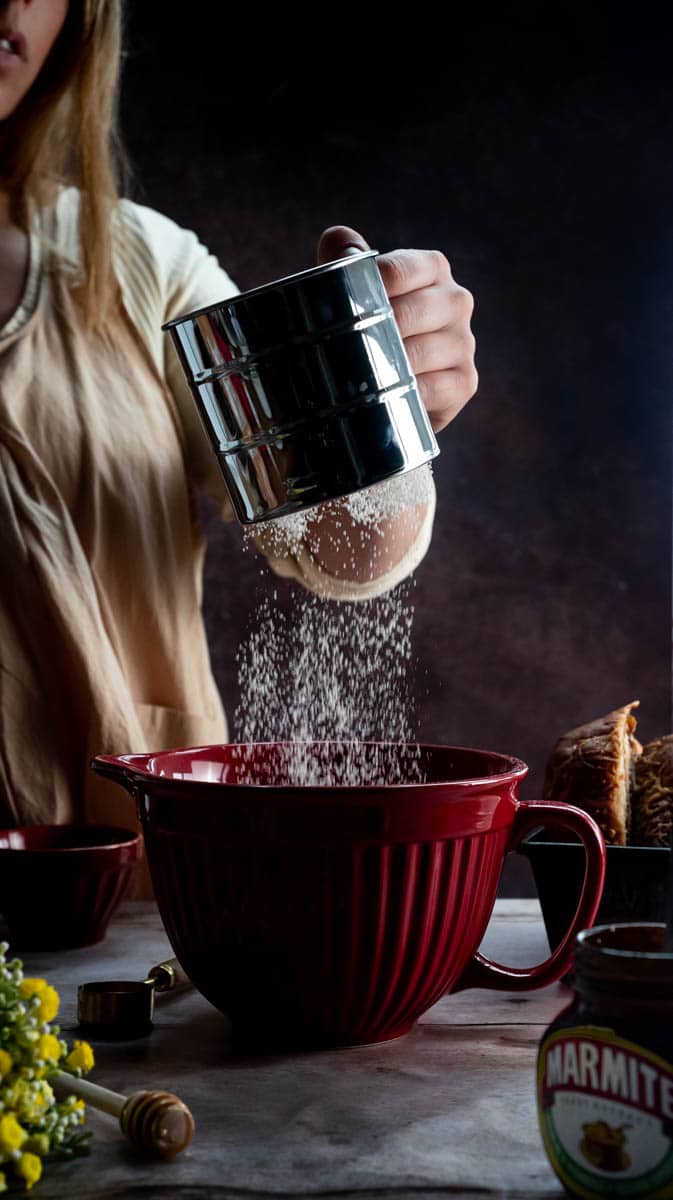
Step-By-Step Guide – How To Make Cheese and Marmite Bread
Step 1: Mixing the Dough
- Combining Dry Ingredients:
- In a large mixing bowl, combine the bread flour, dried yeast, sea salt, and honey.
- Adding Wet Ingredients:
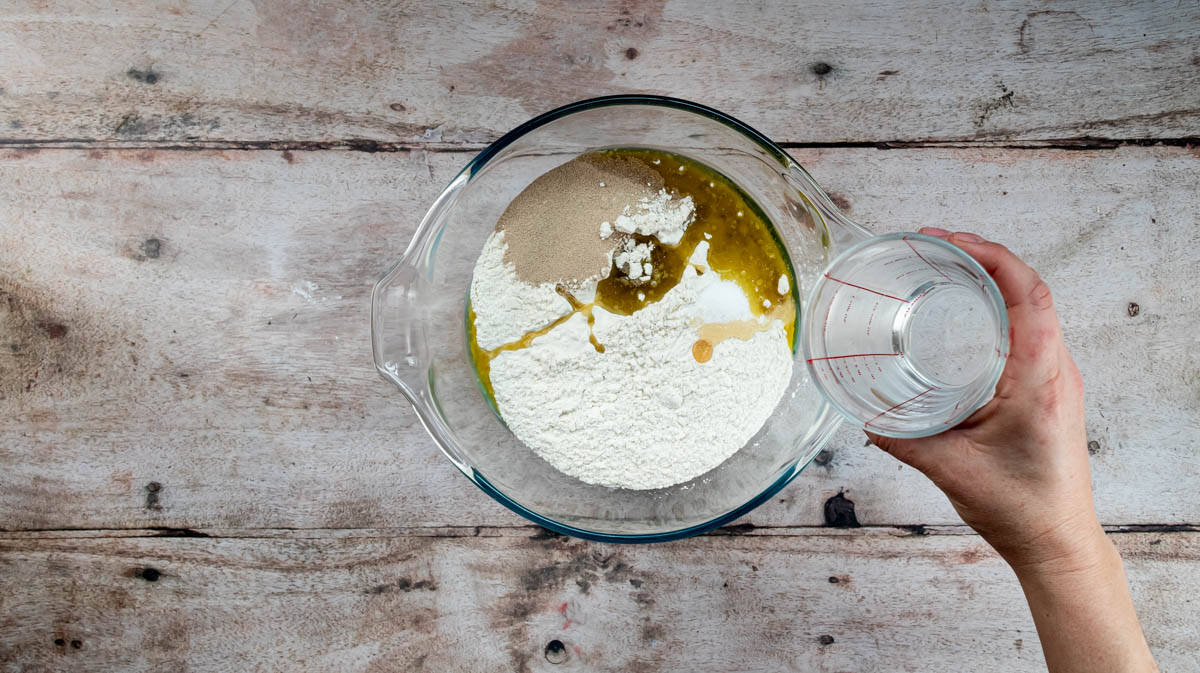
- Pour in the extra virgin olive oil and add three-quarters of the tepid water to the bowl.
- Mixing the Dough:
- Stir the ingredients together until they start forming a dough.
- Gradually add the remaining water until all the flour is incorporated and the dough comes together. It should be soft and slightly sticky.

Step 2: Kneading and Resting
- Kneading the Dough:
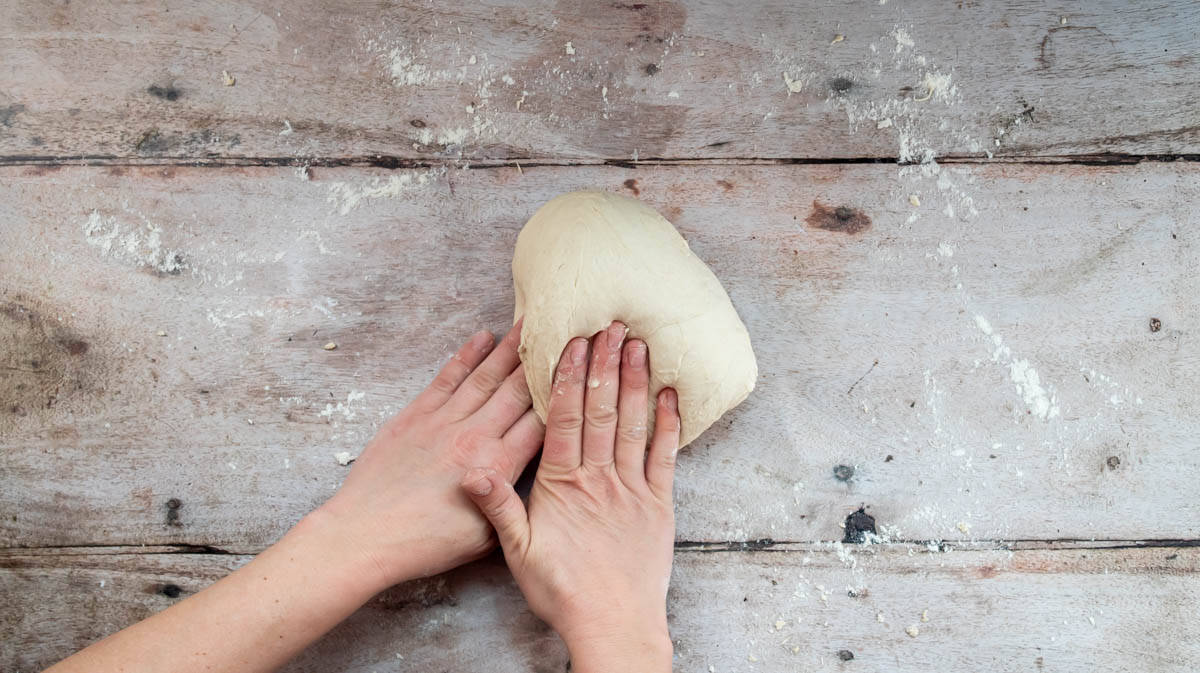
- Transfer the dough onto a lightly floured work surface and knead it for about 10 minutes until it becomes smooth and elastic.
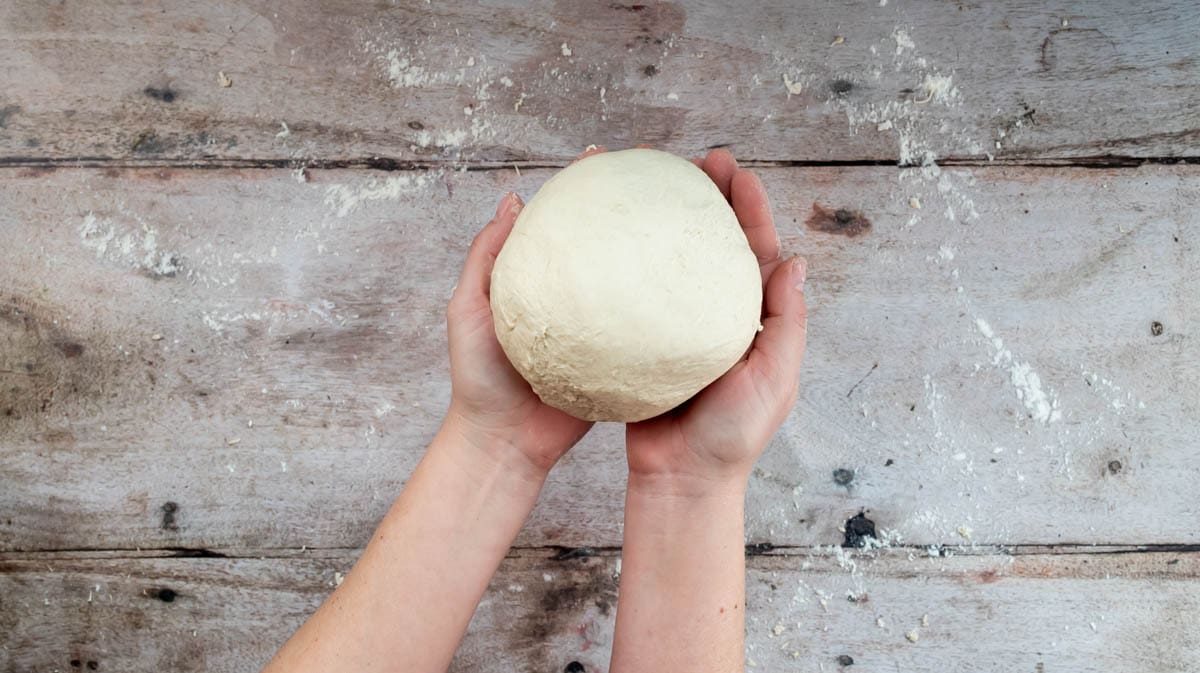
- Shape the soft dough into a smooth ball, sealing it at the bottom by pinching the dough together.
- Resting the Dough:
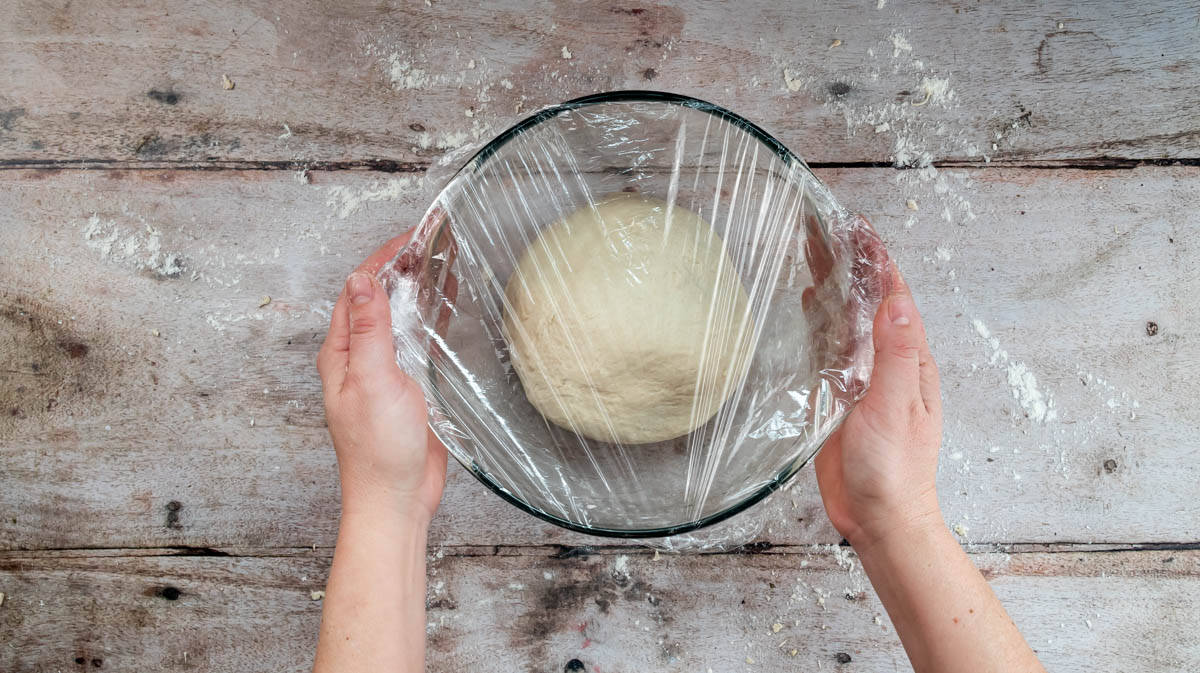
- Grease a large bowl with olive oil and place the kneaded dough ball inside, seal side down.
- Cover the bowl with a clean kitchen towel or plastic wrap and let the dough rest in a warm place for 30 minutes.

Step 3: Preparing Fillings and Shaping
- Preparing Fillings:
- While the dough is resting, grate the Cheddar cheese and line a large baking tin with lightly greased baking paper.
- Place the Marmite in a microwave-safe bowl and heat it for 10-15 seconds to soften it.
- Shaping the Loaf:
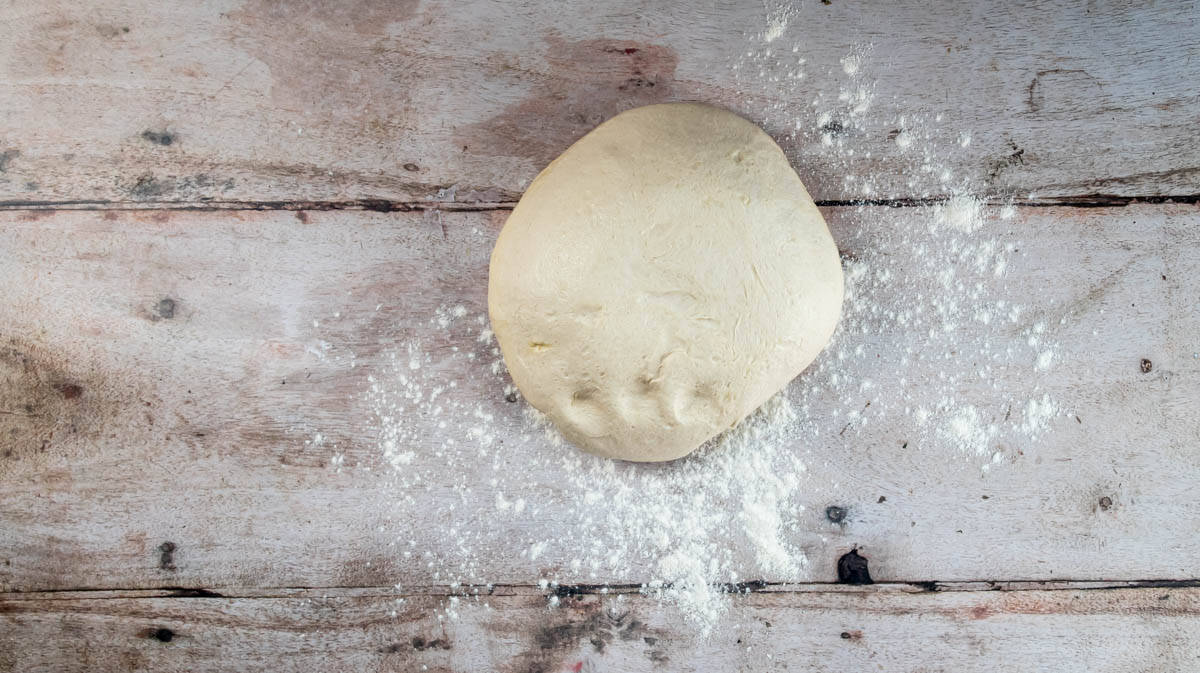
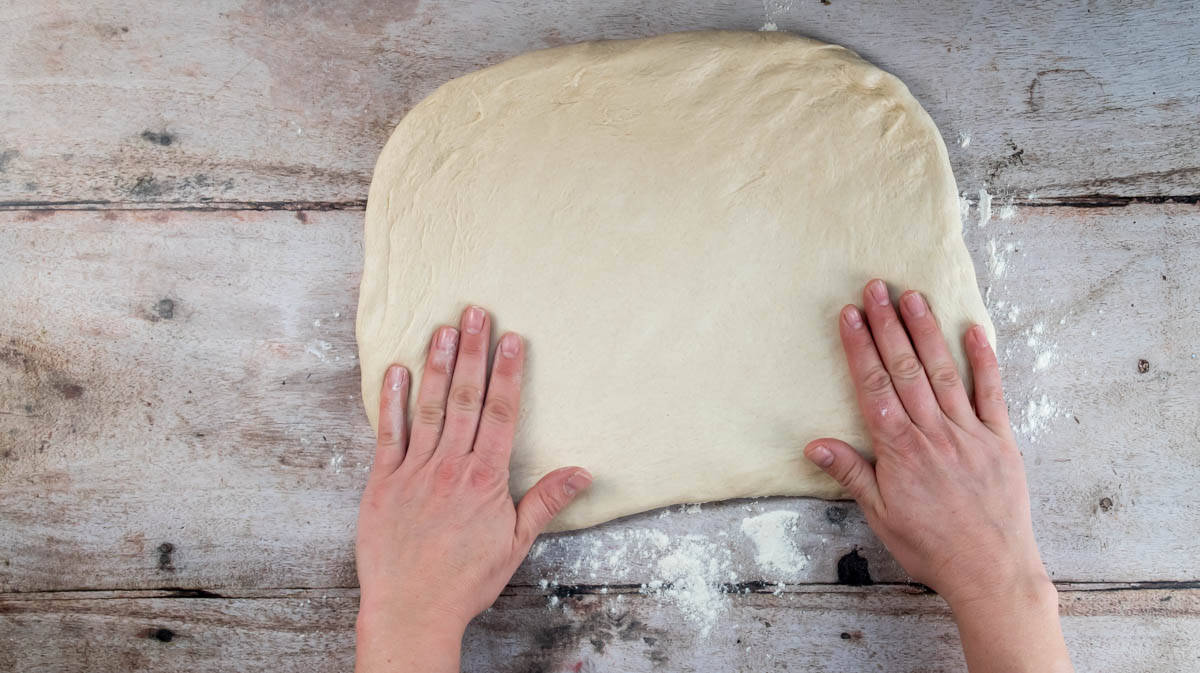
- Once the dough has rested, transfer it to a lightly floured surface and press it down to form a large, flat rectangle about 3-4cm thick.
- Spread the softened Marmite evenly over the dough using the back of a spoon.
- Sprinkle three-quarters of the grated Cheddar cheese over the Marmite layer.
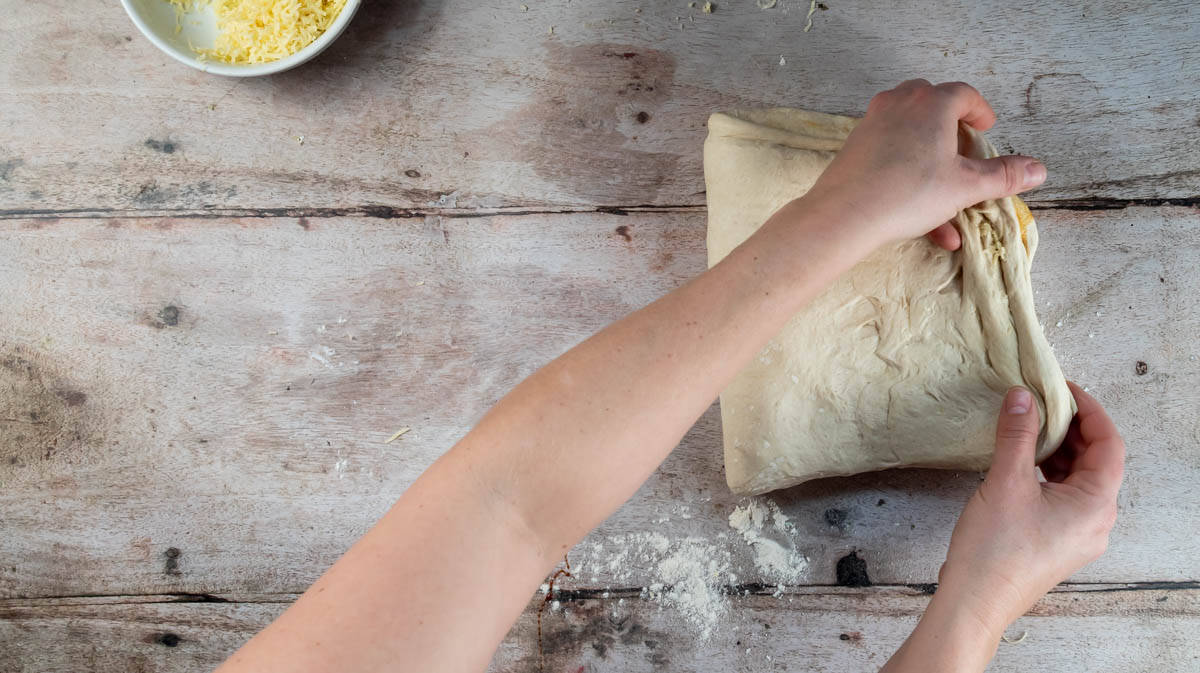
- Starting from one end, loosely roll up the dough to meet the other end, folding the Marmite and cheese layer over itself.
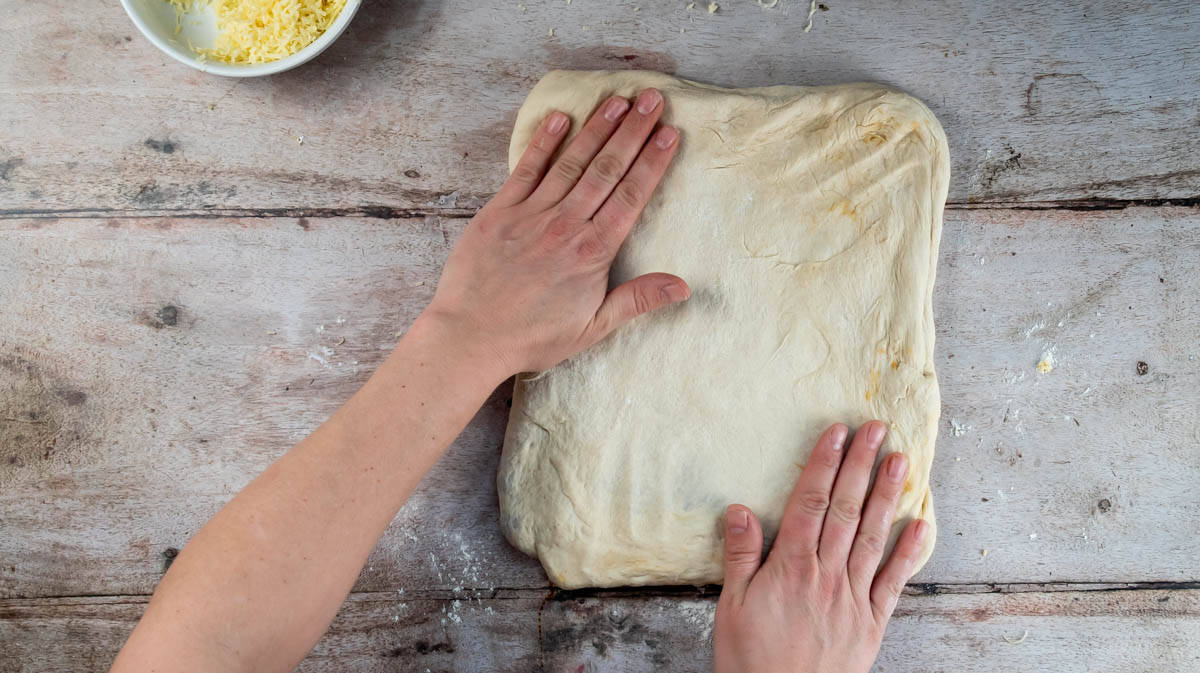
- Press the edges together to seal the loaf and flatten it slightly.
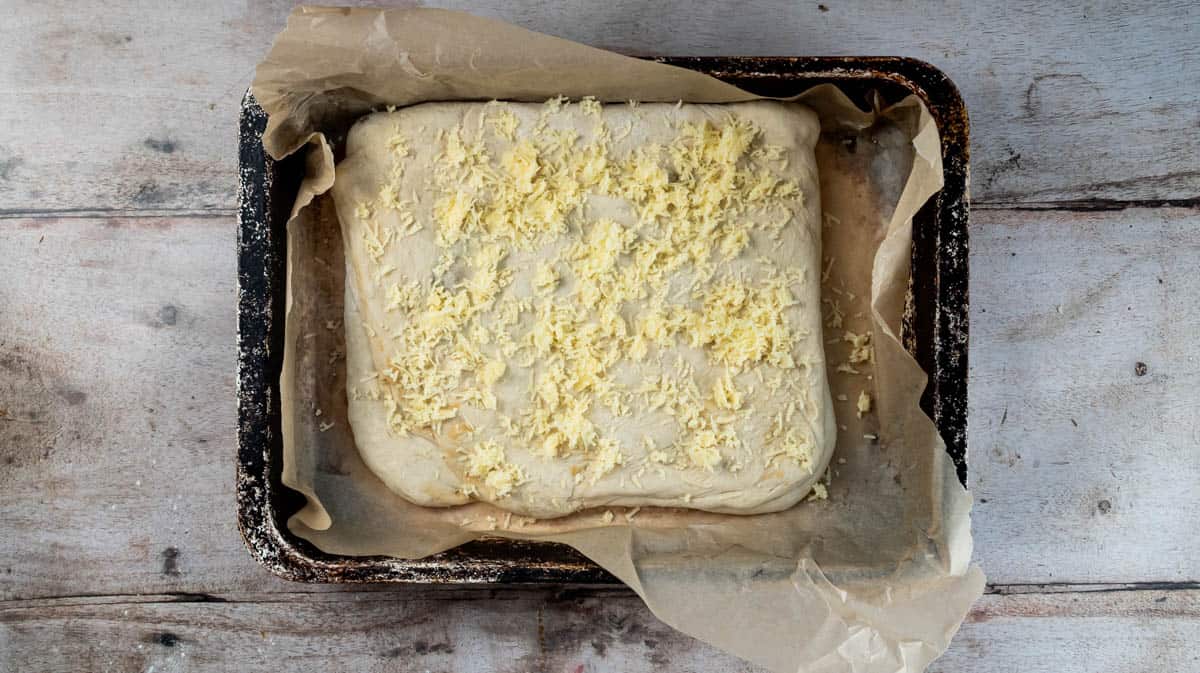
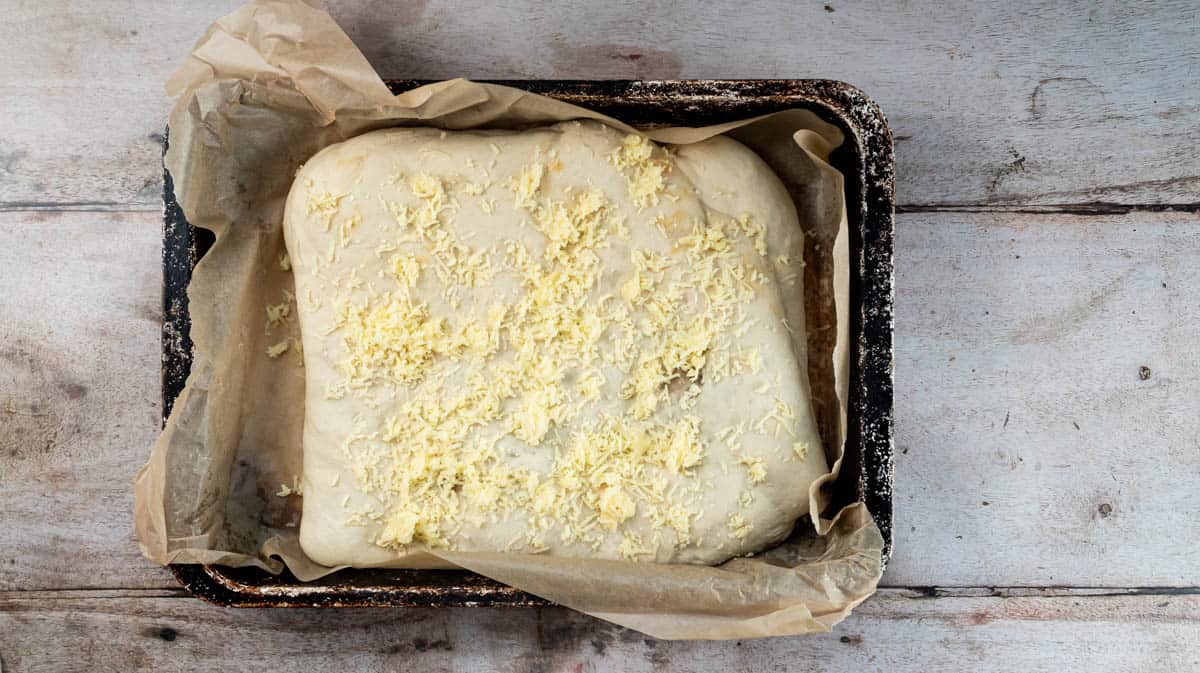
- Fold the dough in half and place it in the prepared baking tin, pressing it down to form a thicker rectangle about 8cm thick.
- Sprinkle the remaining cheese over the top of the loaf.


Step 4: Rising and Baking
- Rising the Dough:
- Cover the baking tin with a clean plastic bag or cloth and let the dough rise in a warm place for 1-2 hours, or until doubled in size.
- Preheating the Oven:
- Preheat the oven to 190°C (375°F).
- Baking the Loaf:
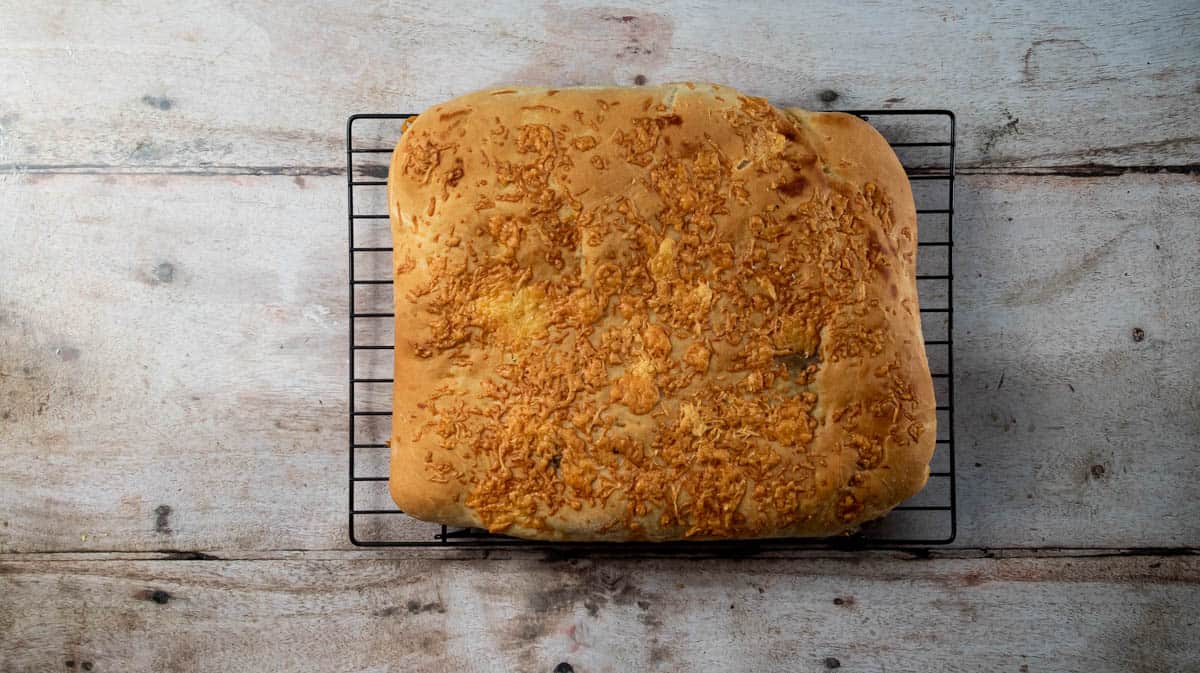
- Once the dough has doubled in size, remove the covering and bake it in the preheated oven for 30 minutes.
- Turn the baking tin halfway through baking to ensure even browning.
- Cooling and Serving:
- Once baked, remove the loaf from the oven and let it cool on a wire rack before serving or storing. Enjoy your delicious Marmite and Cheddar bread!
FAQ
You can tell if the dough has risen enough by visually checking if it has approximately doubled in size. Additionally, gently poke the dough with your finger; if the indentation remains and doesn’t spring back, it’s ready.
Resting the dough allows the gluten to relax making it easier to work with. It also allows the flavours to develop, resulting in a better texture and taste. I don’t recommend skipping the resting time.
Pro Tips and Guidance
- Use Fresh Yeast: Freshly opened yeast, will give you the best results. Even when yeast is within the expiration date, it should be discarded 6 months after opening.
- Knead Thoroughly: Kneading the dough develops gluten, which gives bread its structure and texture. Knead the dough until it’s smooth and elastic, about 10 minutes by hand or 5 minutes with a stand mixer.
- Create a Warm Environment: Yeast thrives in a warm environment, so find a warm spot in your kitchen for the dough to rise. You can also preheat your oven to the lowest temperature for a few minutes, then turn it off and place the dough inside to rise.
- Check for Doneness: Use visual cues to determine if your bread is done. It should be golden brown on the outside and sound hollow when tapped on the bottom. If you’re unsure, you can also use a food thermometer to check that the internal temperature reaches about 93°C (200°F).

Storage
Storage:
- Store the bread in an airtight container or wrapped tightly in plastic wrap at room temperature for up to 2-3 days. It’s best enjoyed fresh but can be stored longer if needed.
Reheating:
- To reheat the bread and restore its freshness, preheat your oven to 180°C (350°F). Place the bread on a baking sheet and warm it in the oven for about 5-10 minutes until heated through.
Freezing:
- Once the bread has been baked and cooled completely, you can freeze it for longer storage. Wrap the bread tightly in clingfilm or aluminium foil to prevent freezer burn, then place it in an airtight container or freezer bag. It can be frozen for up to 1-2 months.
Defrosting:
- When ready to enjoy, let the bread thaw at room temperature or gently warm it in the oven before serving. However, please note that freezing baked bread may result in a slight loss of freshness and texture compared to when it’s enjoyed fresh.
Check Out These Marmite Recipes

Light and Fluffy Cheese Scones flavoured with Marmite. They make the perfect snack or savoury option for afternoon tea.

A great after school snack. Puff pastry twists filled with cheddar and marmite. The kids love these!

A delicious nut roast that makes a great Sunday meal or even an option for packed lunch. Flavoured with Marmite.
Download your Free 5-Day Lunchbox Planner
+ Bonus Checklist and Guide!

Soft Swirled Cheddar Cheese and Marmite Bread Loaf
Ingredients
- 500 g Strong White Bread Flour
- 15 g Dried Yeast
- 8 g Sea Salt
- 5 g Honey
- 30 ml Extra Virgin Olive Oil
- 320 ml Tepid Water
- 200 g Cheddar
- 100 g Marmite
Instructions
- In a large mixing bowl, combine the bread flour, yeast, salt, and honey.
- Pour in the olive oil and add three-quarters of the tepid water to the bowl.
- Mix the ingredients together until they start forming a dough.
- Gradually add the remaining water until all the flour is incorporated and the dough comes together. The dough should be soft and slightly sticky.
- Transfer the dough onto a lightly floured surface and knead it for about 10 minutes until it becomes smooth and elastic.
- Grease a large bowl with olive oil and place the kneaded dough inside.
- Cover the bowl with a clean kitchen towel or plastic wrap and let the dough rest in a warm place for 30 minutes.
- While the dough is resting, grate the Cheddar cheese and line a large baking tin with lightly greased baking paper.
- Place the Marmite in a microwave-safe bowl and heat it for 10-15 seconds to soften it.
- Once the dough has rested, transfer it to a lightly floured surface and press it down to form a large, flat rectangle about 3-4cm thick.
- Spread the softened Marmite evenly over the dough using the back of a spoon.
- Sprinkle three-quarters of the grated Cheddar cheese over the Marmite layer.
- Starting from one end, loosely roll up the dough to meet the other end, folding the Marmite and cheese layer over itself.
- Press the edges together to seal the loaf and flatten it slightly.
- Fold the dough in half and place it in the prepared baking tin, pressing it down to form a thicker rectangle about 8cm thick.
- Sprinkle the remaining grated Cheddar cheese over the top of the loaf.
- Cover the baking tin with a clean plastic bag or cloth and let the dough rise in a warm place for 1-2 hours, or until doubled in size.
- Preheat the oven to 190°C (375°F).
- Once the dough has doubled in size, remove the covering and bake it in the preheated oven for 30 minutes.
- Turn the baking tin halfway through baking to ensure even browning.
- Once baked, remove the loaf from the oven and let it cool on a wire rack before serving or storing.
Recipe Notes
- Use Fresh Yeast: Opt for freshly opened yeast for best results. Discard yeast 6 months after opening, even if within expiration date.
- Knead Thoroughly: Develop gluten for bread structure and texture by kneading dough until smooth and elastic, approximately 10 minutes by hand or 5 minutes with a stand mixer.
- Create a Warm Environment: Foster yeast activity by placing dough in a warm kitchen spot or preheated, turned-off oven for rising.
- Check for Doneness: Ensure bread is golden brown and sounds hollow when tapped on the bottom. Use a food thermometer to confirm internal temperature reaches about 93°C (200°F) if unsure.


Hiya, can i make this without the honey? Thanks
Hi, yes you can. The honey is added to begin the process of feeding the yeast and gives the bread a little longer shelf life while keeping it soft. You can replace it with some sugar but the results and shelf life may differ a little. Happy Baking!